
Account Configuration Management User Guide
Content Outline
Overview
Each account in Experience Management is provisioned with an environment to configure the Dispatch setup that is required to send out invites to the customers. This environment is called Experience Management Account Configuration Management (ACM). The ACM is used every time a new Dispatch is deployed to send out invites. By selecting the same dispatch in the first drop down, the existing settings for the dispatch can be edited and overwritten.
ACM Setup
-
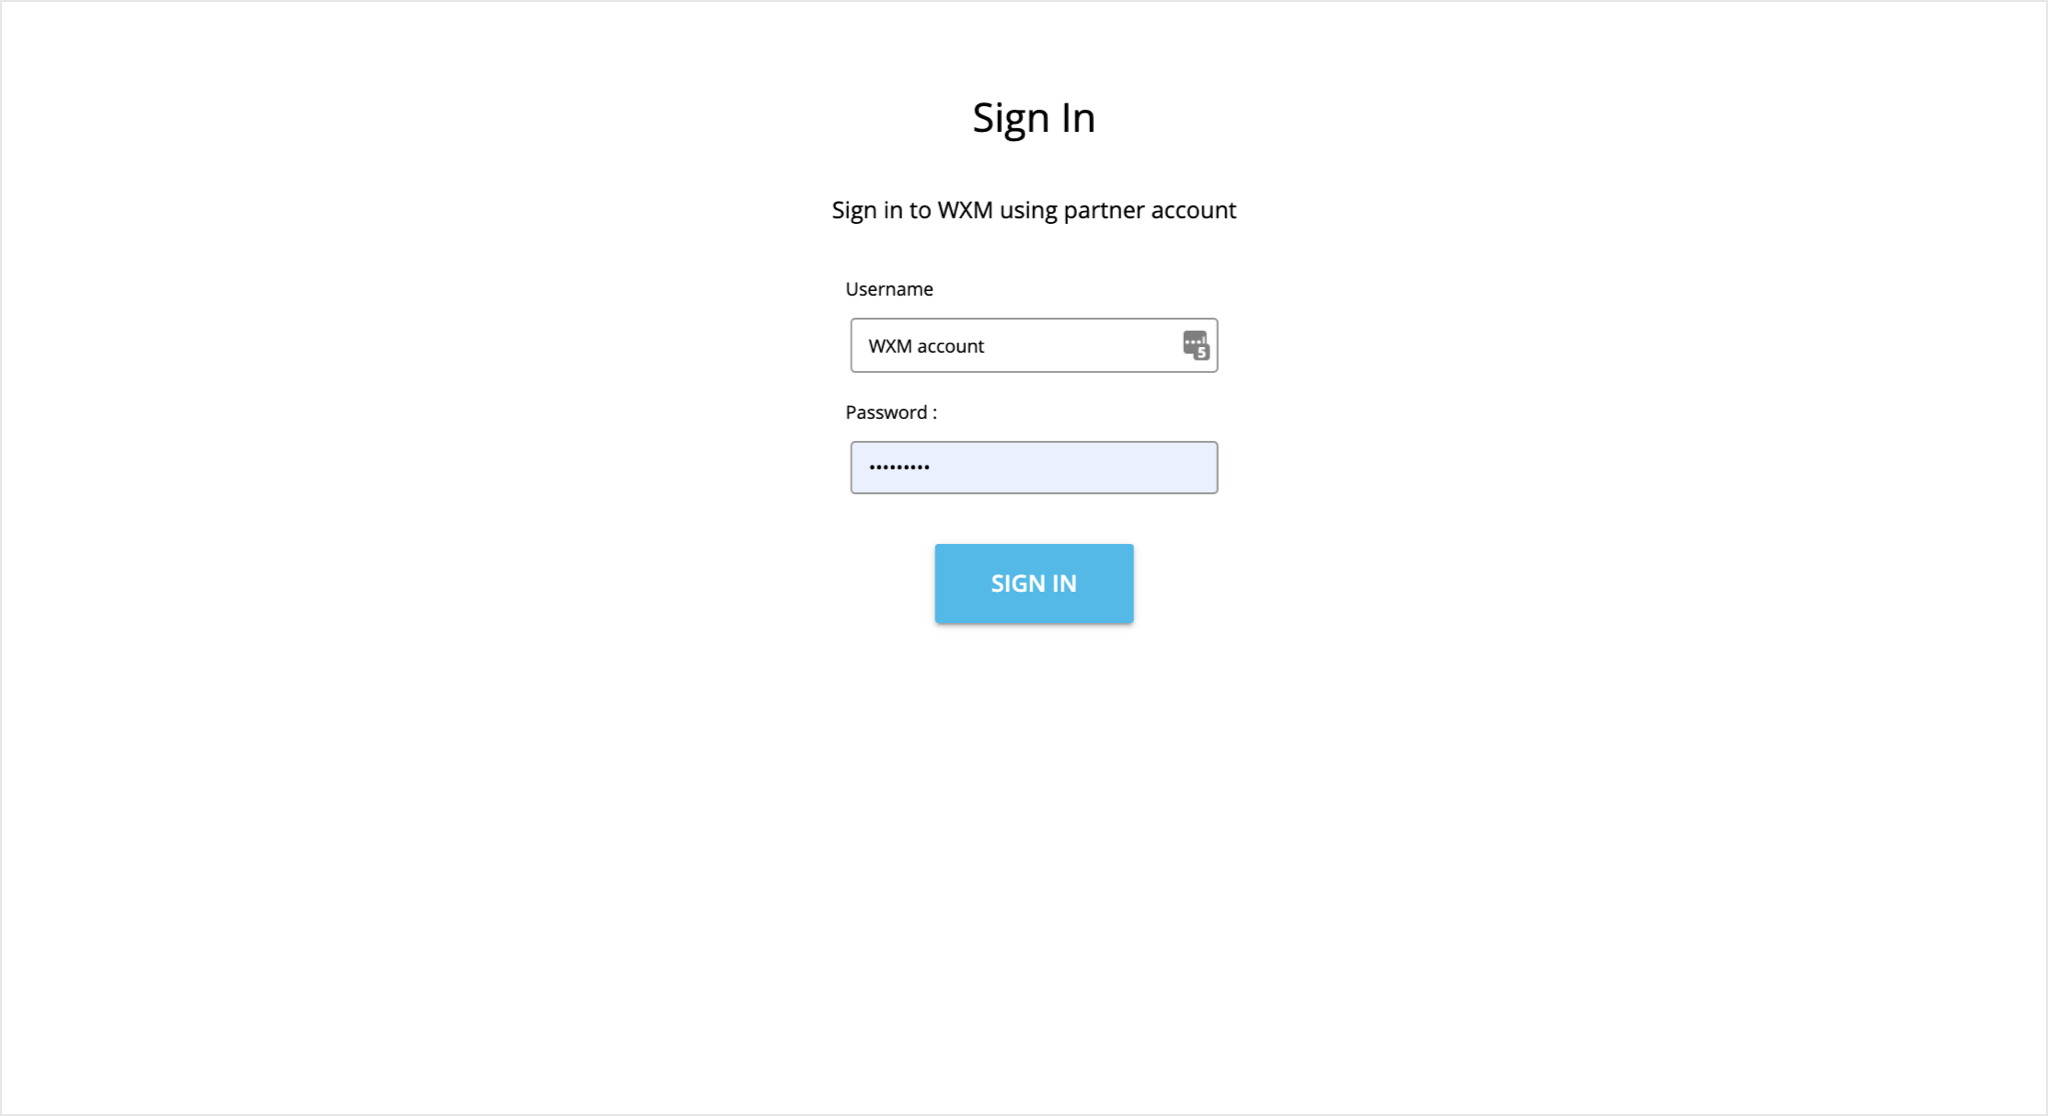
Start by signing into ACM using the same read/write user credentials for Experience Management.
-
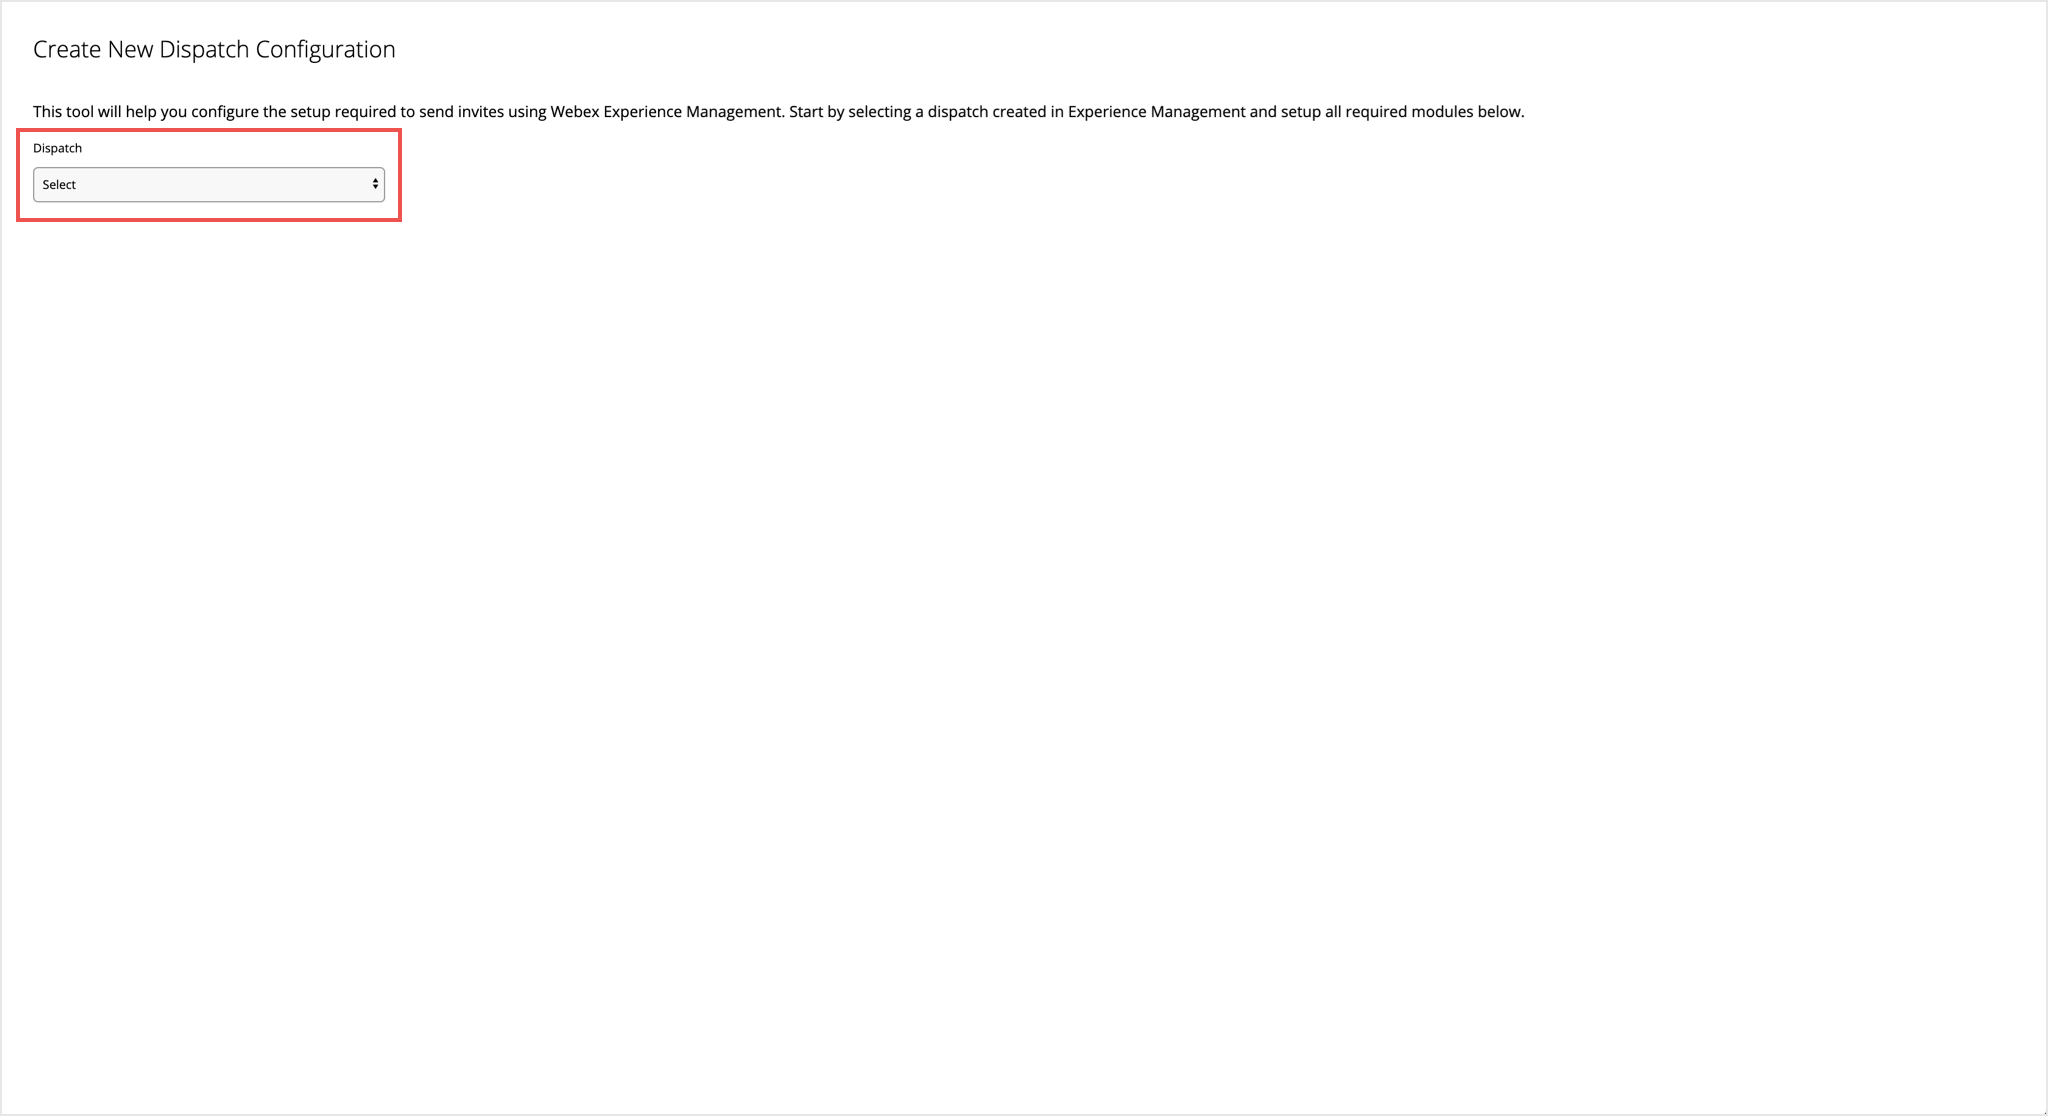
Select a Dispatch created in Experience Management to proceed with setup. On selecting the Dispatch, all the channels that are set up in that Delivery Policy will be displayed.
Only the active Dispatches will be listed in the dropdown. If either the Dispatch or the Delivery Policy linked to the Dispatch is paused it will not show up in the drop down. Make sure that you check for the statuses before you set it up.
-
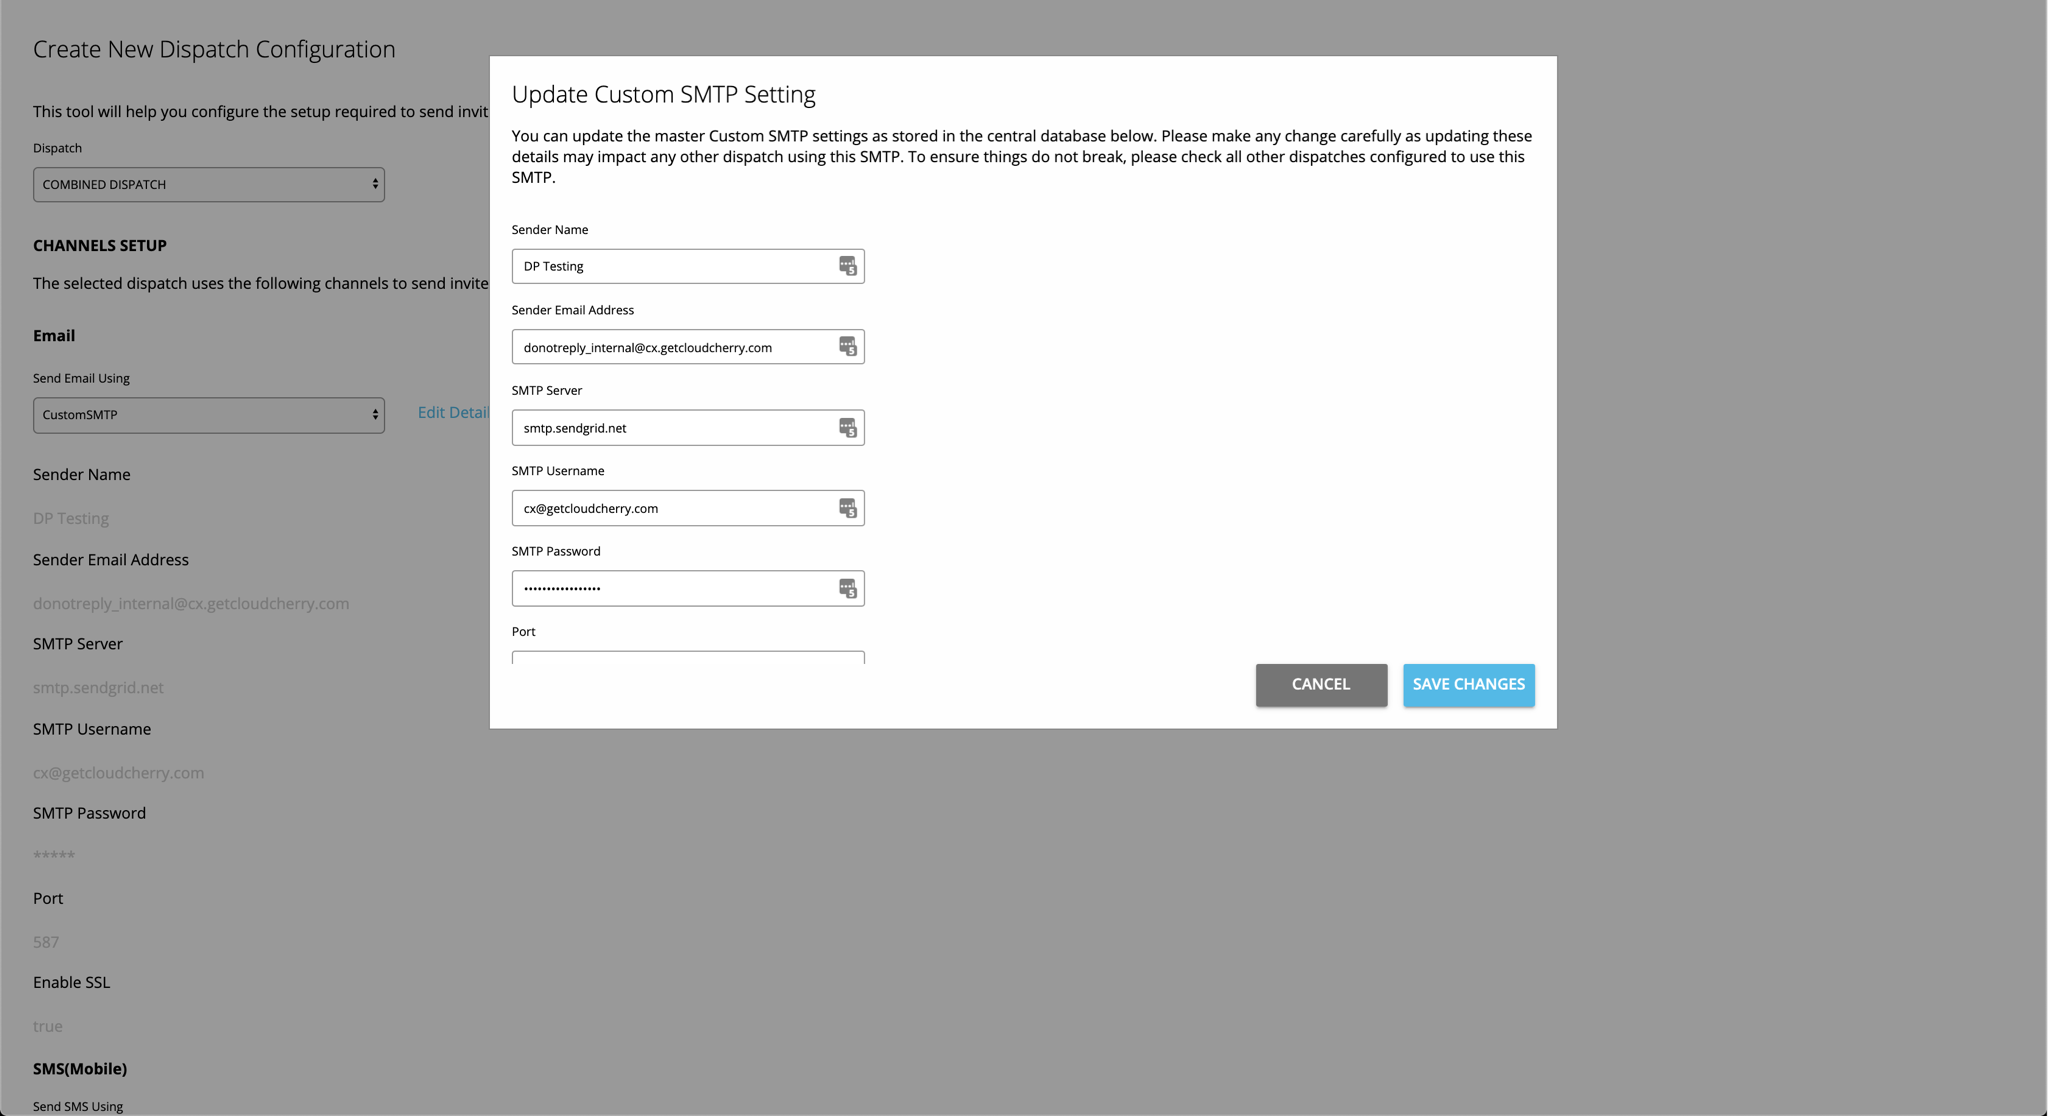
Once a Dispatch is selected, a set of configurations associated with it is displayed. Select the vendor to use to send out these invites, based on the channels setup in the Dispatch.
The list displays vendors for the account that are readily available from out of the box integrations. However, the settings for each of the vendor can be configured here. Changes made to any vendor setting will impact all other dispatches using the same vendor for sending invites. Please make any such change carefully. You can update the master vendor settings as stored in the central database in the ‘Edit Details for’ pop-up. Once updated you will see all the details populated after the vendor has been selected.
-
Static Responses – Here you can set up fixed responses for the pre-fills in the questionnaire that is linked to the Dispatch selected above. These responses should be added where the response data is not available in the data file or the same response has to be captured for a prefill question, example, Touchpoint.
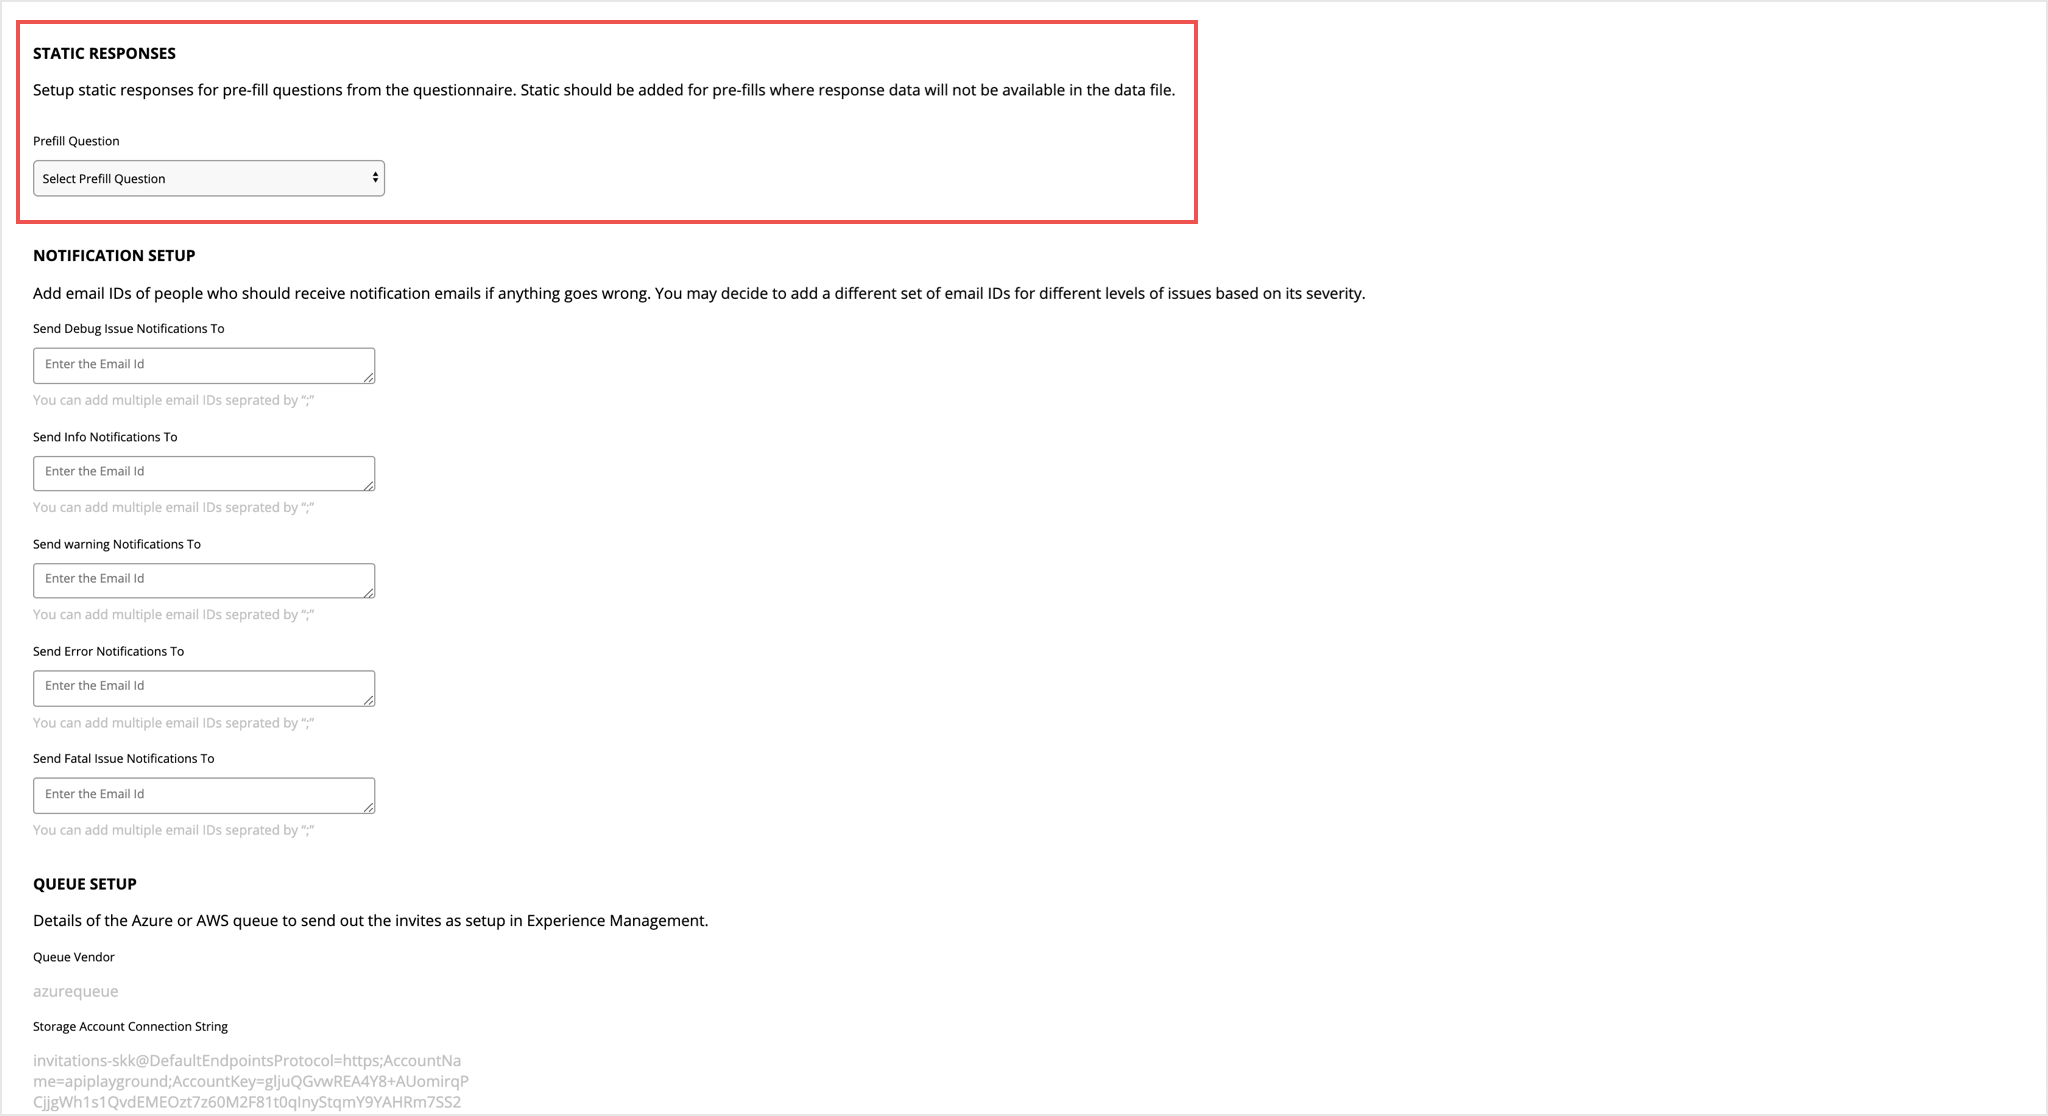
To add multiple static responses, select a question from the drop down (only pre-fill questions are displayed here) along with the response it should capture. Once added to the list, users can add multiple such static responses.
-
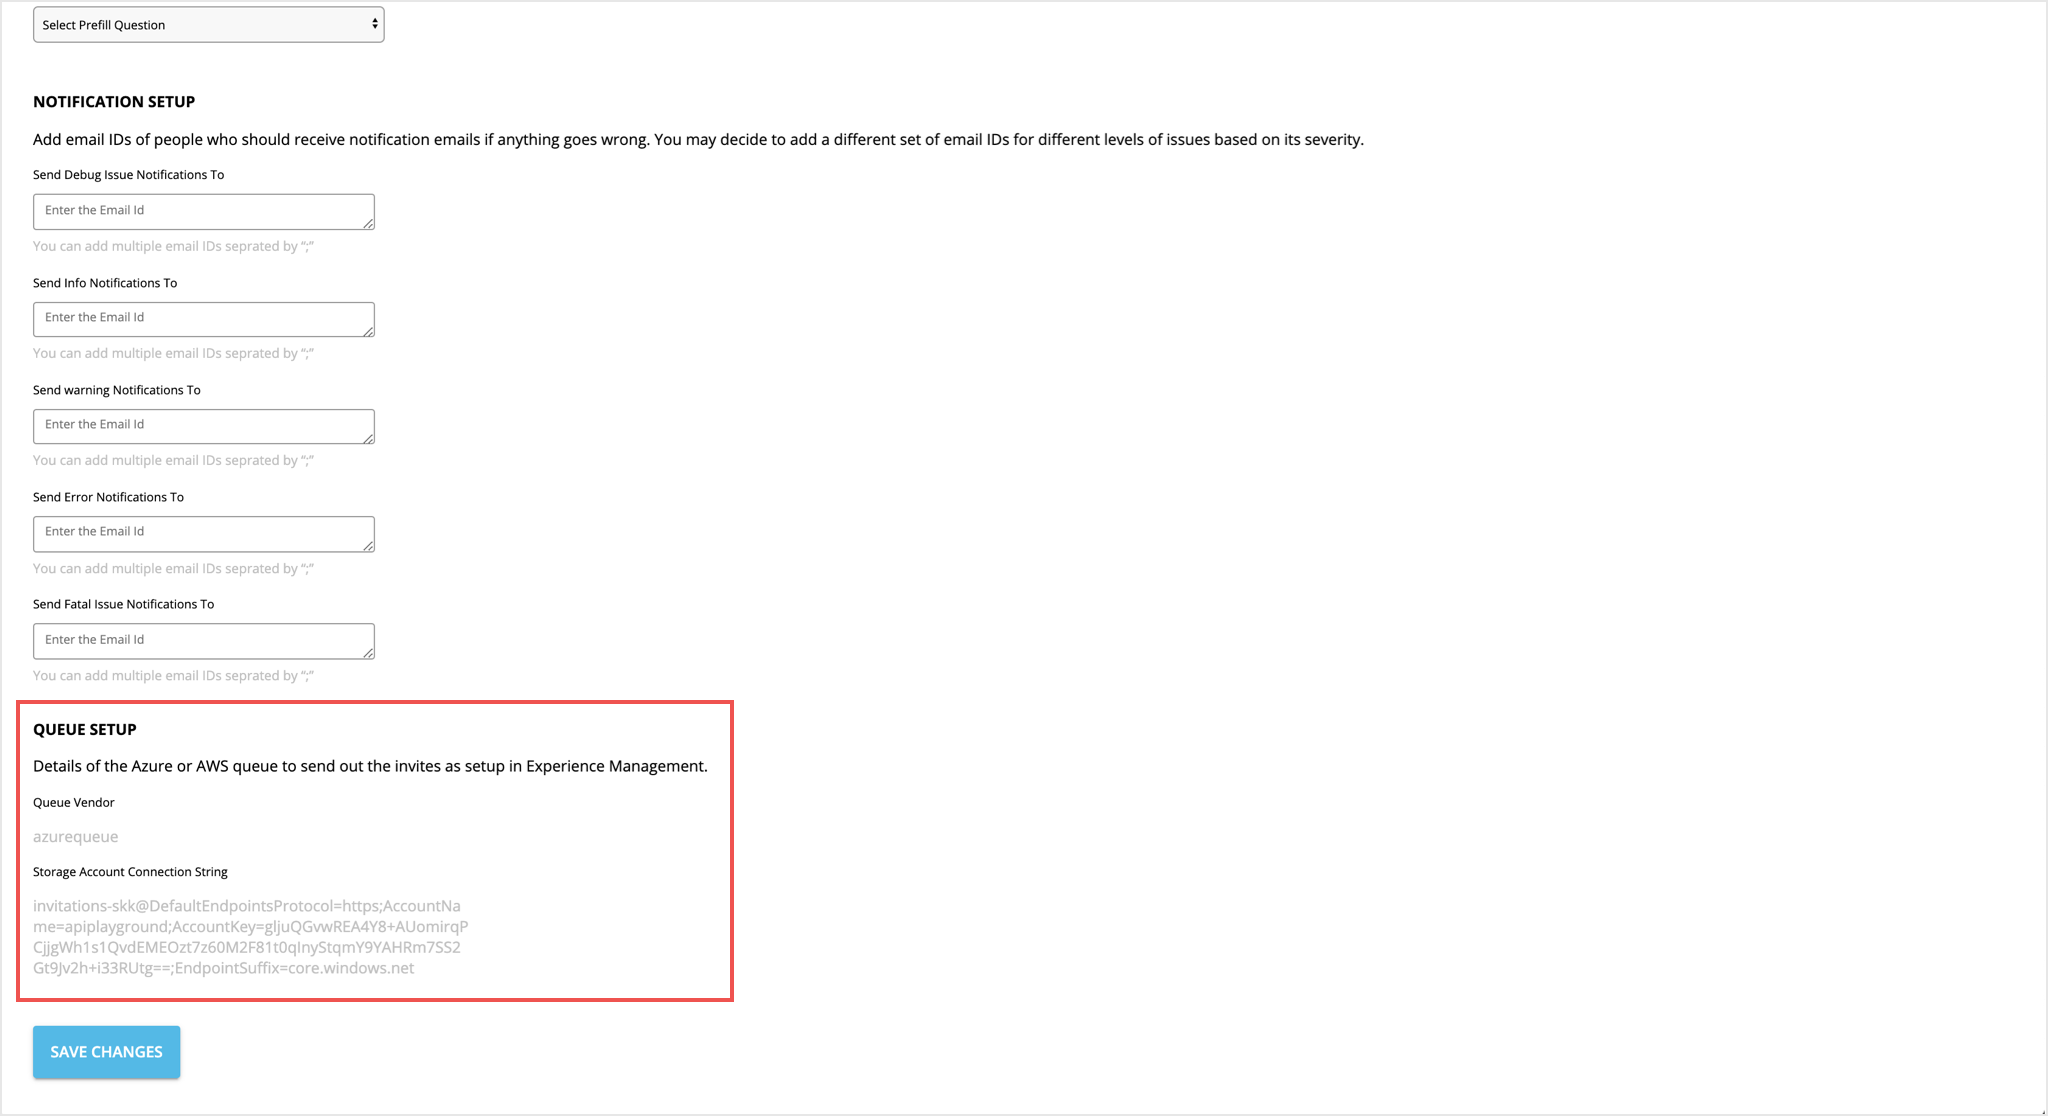
Notification Setup - All the events that are captured are classified into 5 main categories – Debug, Info, Warning, Error, Fatal (DIWEF). This section allows users to subscribe to events and thereby get notifications when the event occurs. Breaking down the notifications into these categories allows users to subscribe to only those notifications that are relevant to them. For example, an admin for an account would want notifications for Fatal issues; but not the Debug notifications. In that case, they could subscribe to the Fatal Issue notifications and ignore the others. Multiple email IDs can be added, separated by “;”
There are two types of notifications which can be set up:
- **Dispatch Level Notifications**
Users have flexibility to subscribe to notifications for these events that are logged per Dispatch. This can be done by adding an email ID of subscribers to the specific event category.

<br>
- **Account Level Notifications**
Logs that are not linked to any Dispatch (account level logs) can be sent in real-time or cumulated as End of Day. The email IDs set up for this will receive account level notifications across all categories of logs. An example of an account level log is "Failed to authenticate the bearer token or fetching data like Delivery Policy/Dispatch/Questions from WXM".

<br>
-
Queue Setup – This provides information on the Microsoft Azure or Amazon Web Service (AWS) Queue that is set up in the Integrations page under CX Setup in Experience Management. You can use it as a cross-reference to check in which queue the records are being pushed to.
Editing and Managing Configurations
Editing an existing configuration should be done very carefully. This may impact all invites going out using the Dispatch. To edit a configuration for any Dispatch, select that Dispatch from the drop down in step 1 above. The existing settings will be displayed, and can be edited.
Changes will take effect after clicking “Save Changes”.
Caching at ACM
Most of the information saved in ACM are cached while using these in other components such as Dispatch Request and Dispatcher. So while changes in ACM are stored in Database in real-time, it may take time or require a restart to reflect in other components. Some of the use-cases are called out below which require a wait time or restart to reflect in other components.
-
Adding/Editing a Dispatch in ACM - This is used in Dispatch component and Dispatcher component. To reflect the latest information in Dispatch Request component, it will take an hour. However, for Dispatcher component, it requires a restart of Azure Functions or AWS Lambdas.
-
Adding/Removing a Static Prefills in ACM - To reflect the latest information in Dispatch Request component, it will take an hour.
-
Adding/Removing Email IDs for Notifications - No wait or restart required for any components
-
Adding/Editing Vendor details - Requires a restart of Azure Functions or AWS Lambdas in Dispatcher component