
Message Template User Guide
Content Outline
Overview
Message templates are an important part of the invites sent to ensure that customers provide feedback. The intention to click on the survey URL greatly depends on how the messaging is done for the customer to be motivated to provide feedback.
Message templates should be crafted carefully, with the right substitutions for personalization and allowing reuse.
These messages can be created for email or SMS, and in multiple languages as well. Templates created can be easily previewed and sent to other Experience Management users. They can preview the templates over web and mobile email clients. This allows for quick iterations on the template to ensure that it is ready to be sent out to customers.
Types Of Templates Supported
We support the following message types in Experience Management
-
Invite: Plain Text Email Template - Ideal to quickly type out a message, include the survey URL, and send it to the customers. Plain text template does not support any text formatting.
-
Invite: Rich HTML Email Template - Rich HTML Template can be fully customized to include company branding, images, and text formatting. In this template you can directly embed the questions.
-
Invite: Mobile SMS Template - Basic SMS template to send survey links and reminders to customer phones.
-
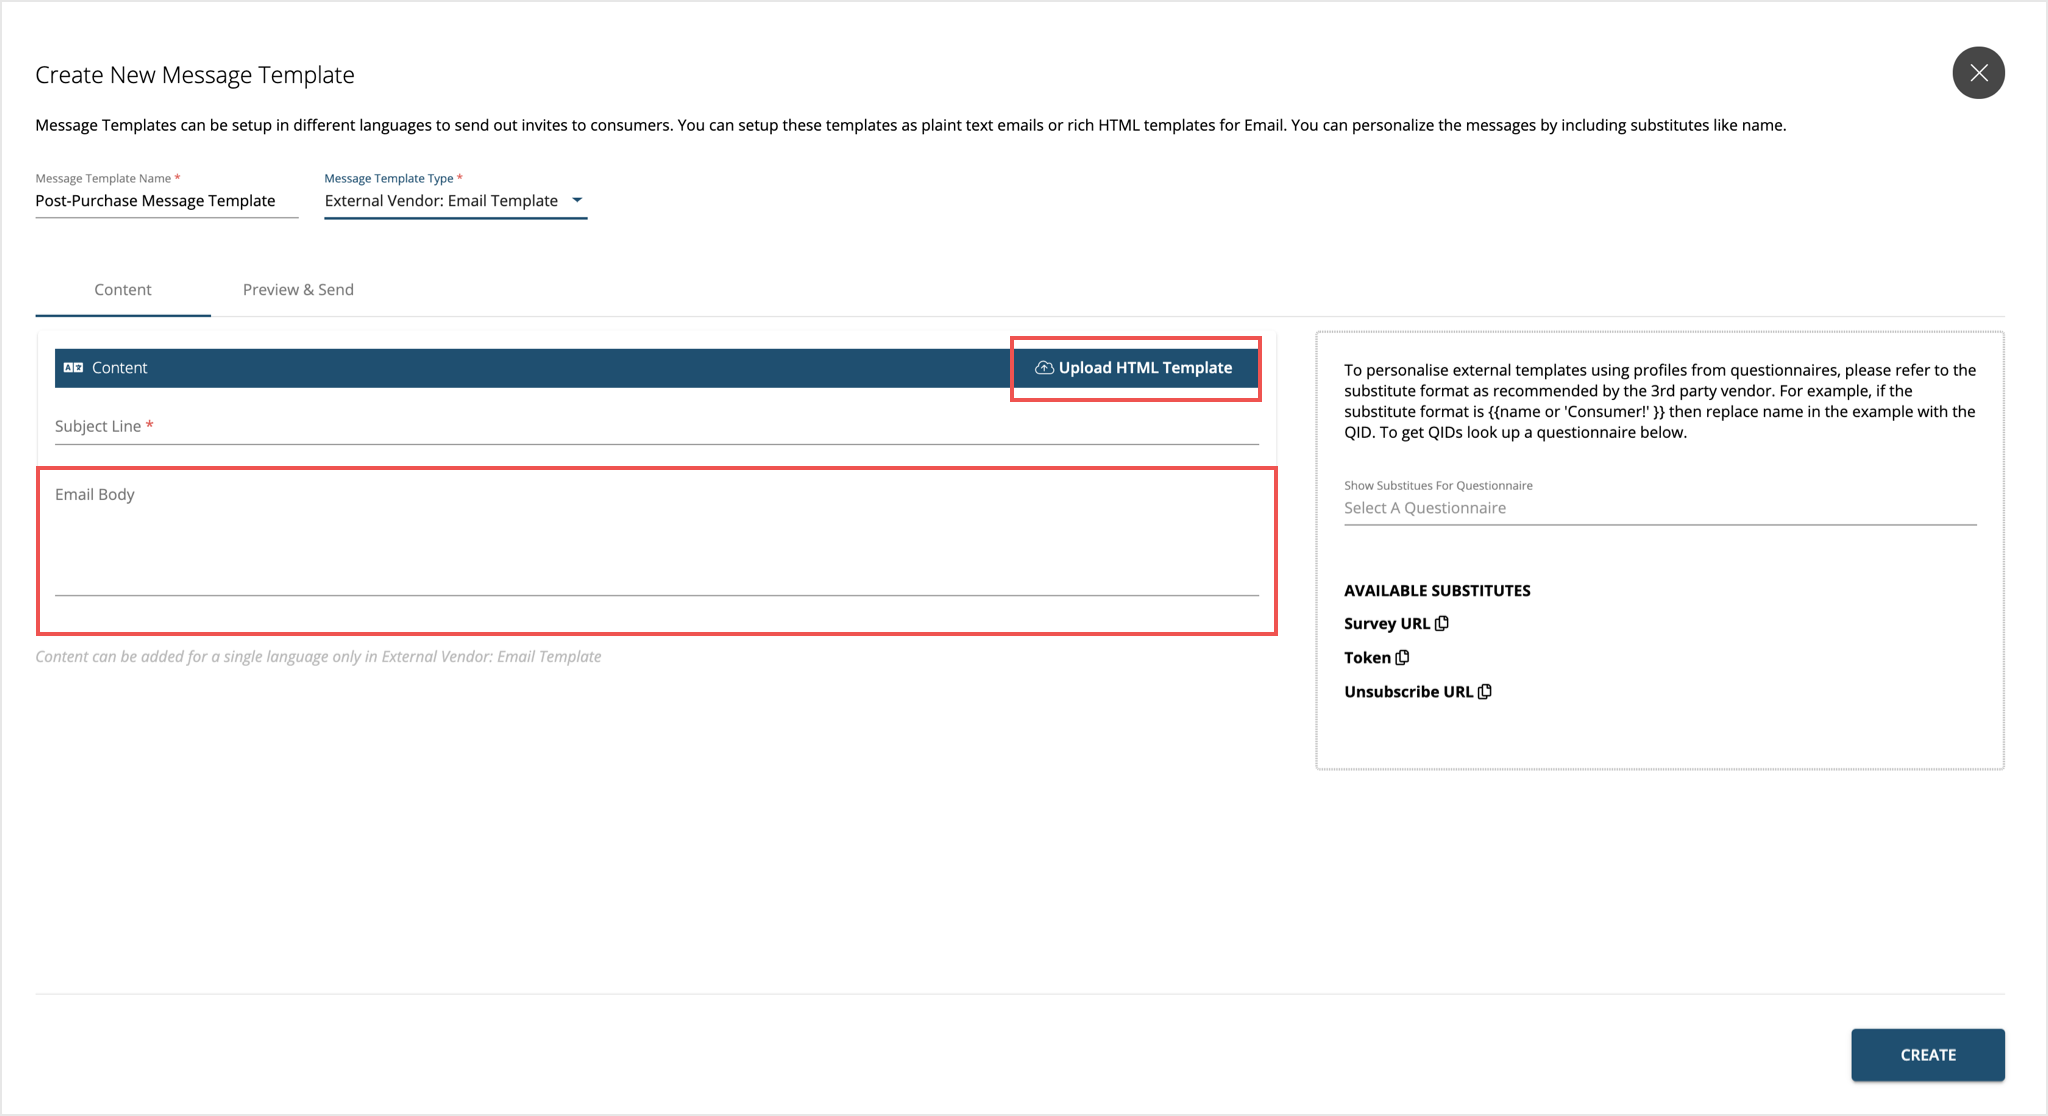
External Vendor: Email Template - To be used for third-party vendors that requires a template in a specific format. This is a simple pass-through template. Whatever is added as content is passed on to the vendor as it is, without any additional validations. External templates do not support multiple languages. A separate template must be created for each language.
Accessing Message Template
-
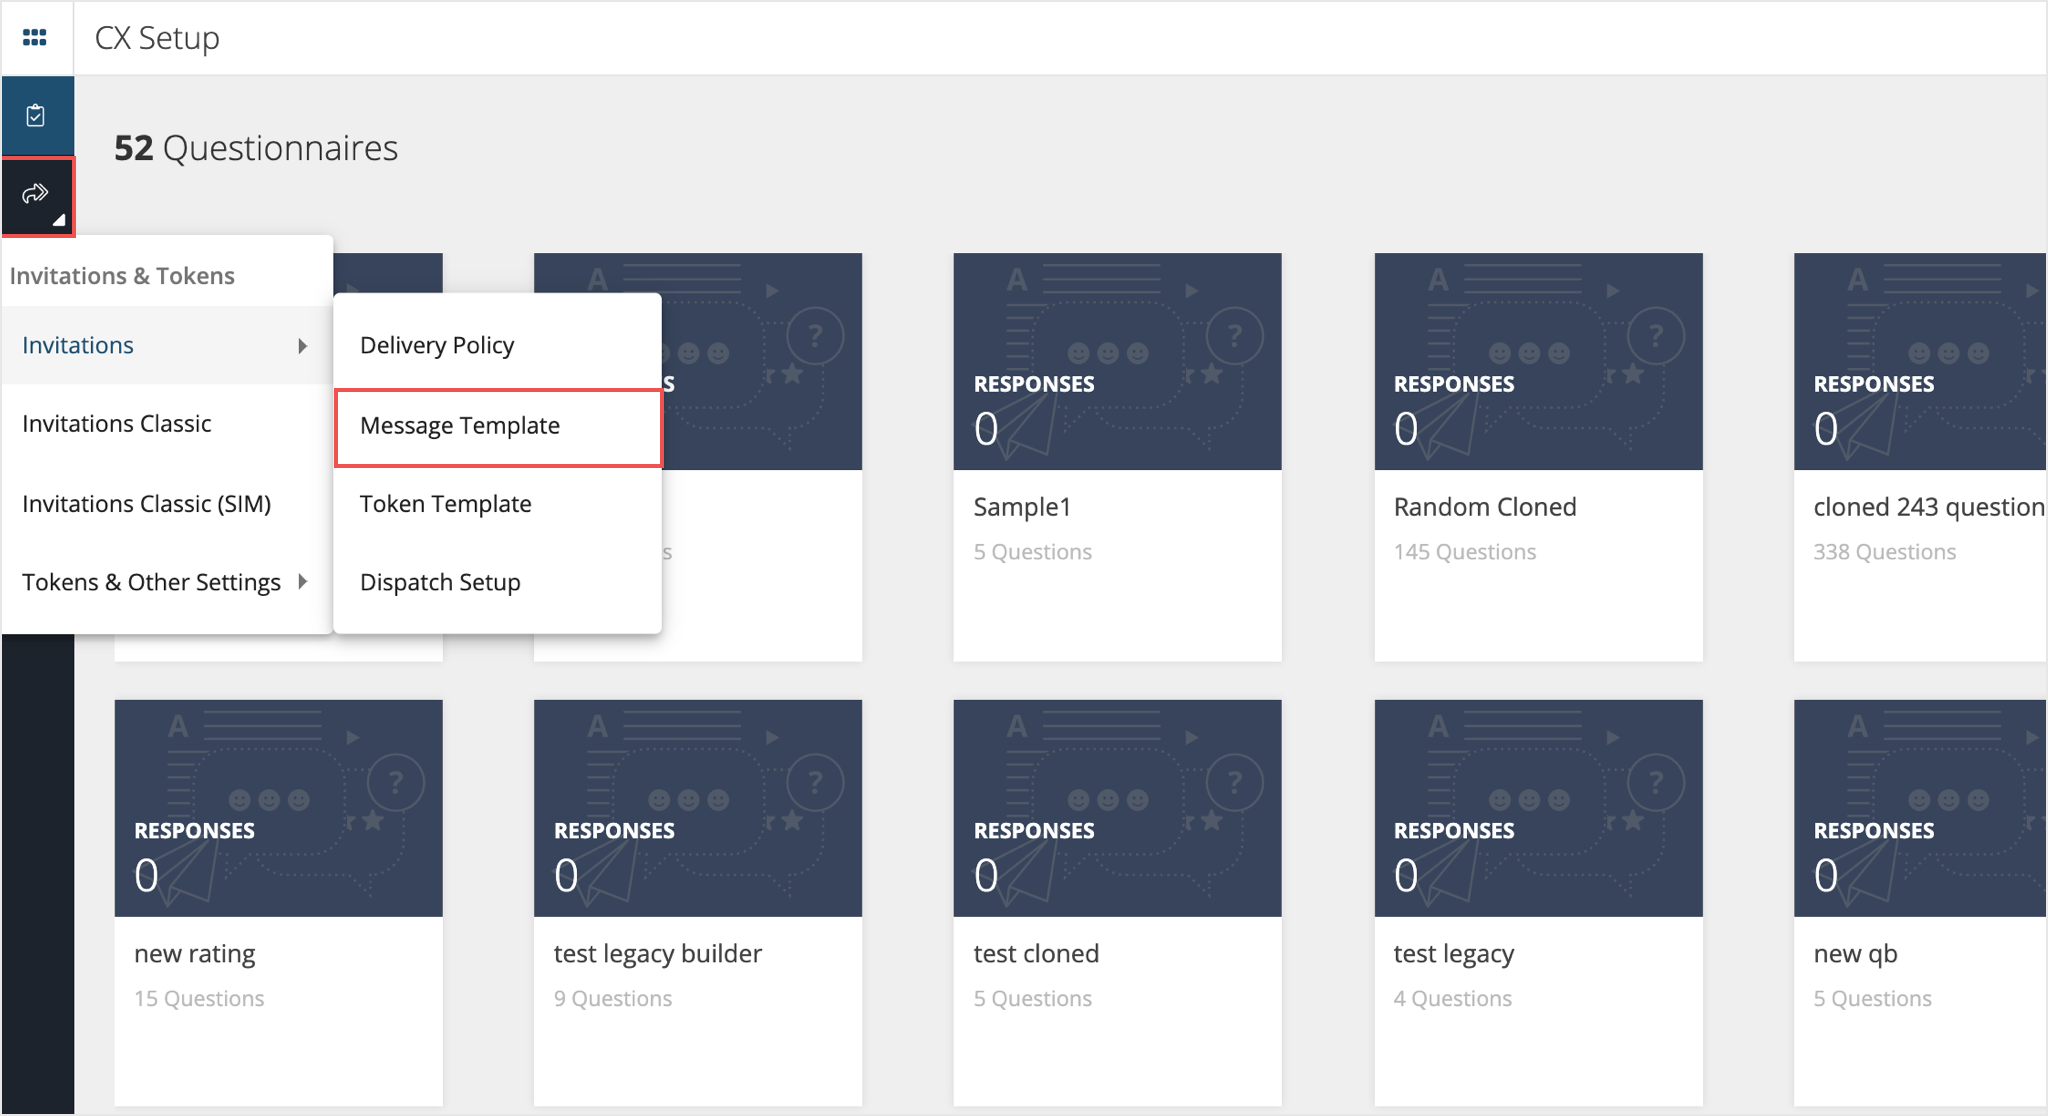
Sign in to Experience Management. Once the dashboard loads, switch to CX Setup using the menu button on the top left of the screen. Select CX Setup.

-
Under CX Setup go to Invitations and Tokens > Invitations > Message Templates in the left navigation menu.
Creating a New Message Template
-
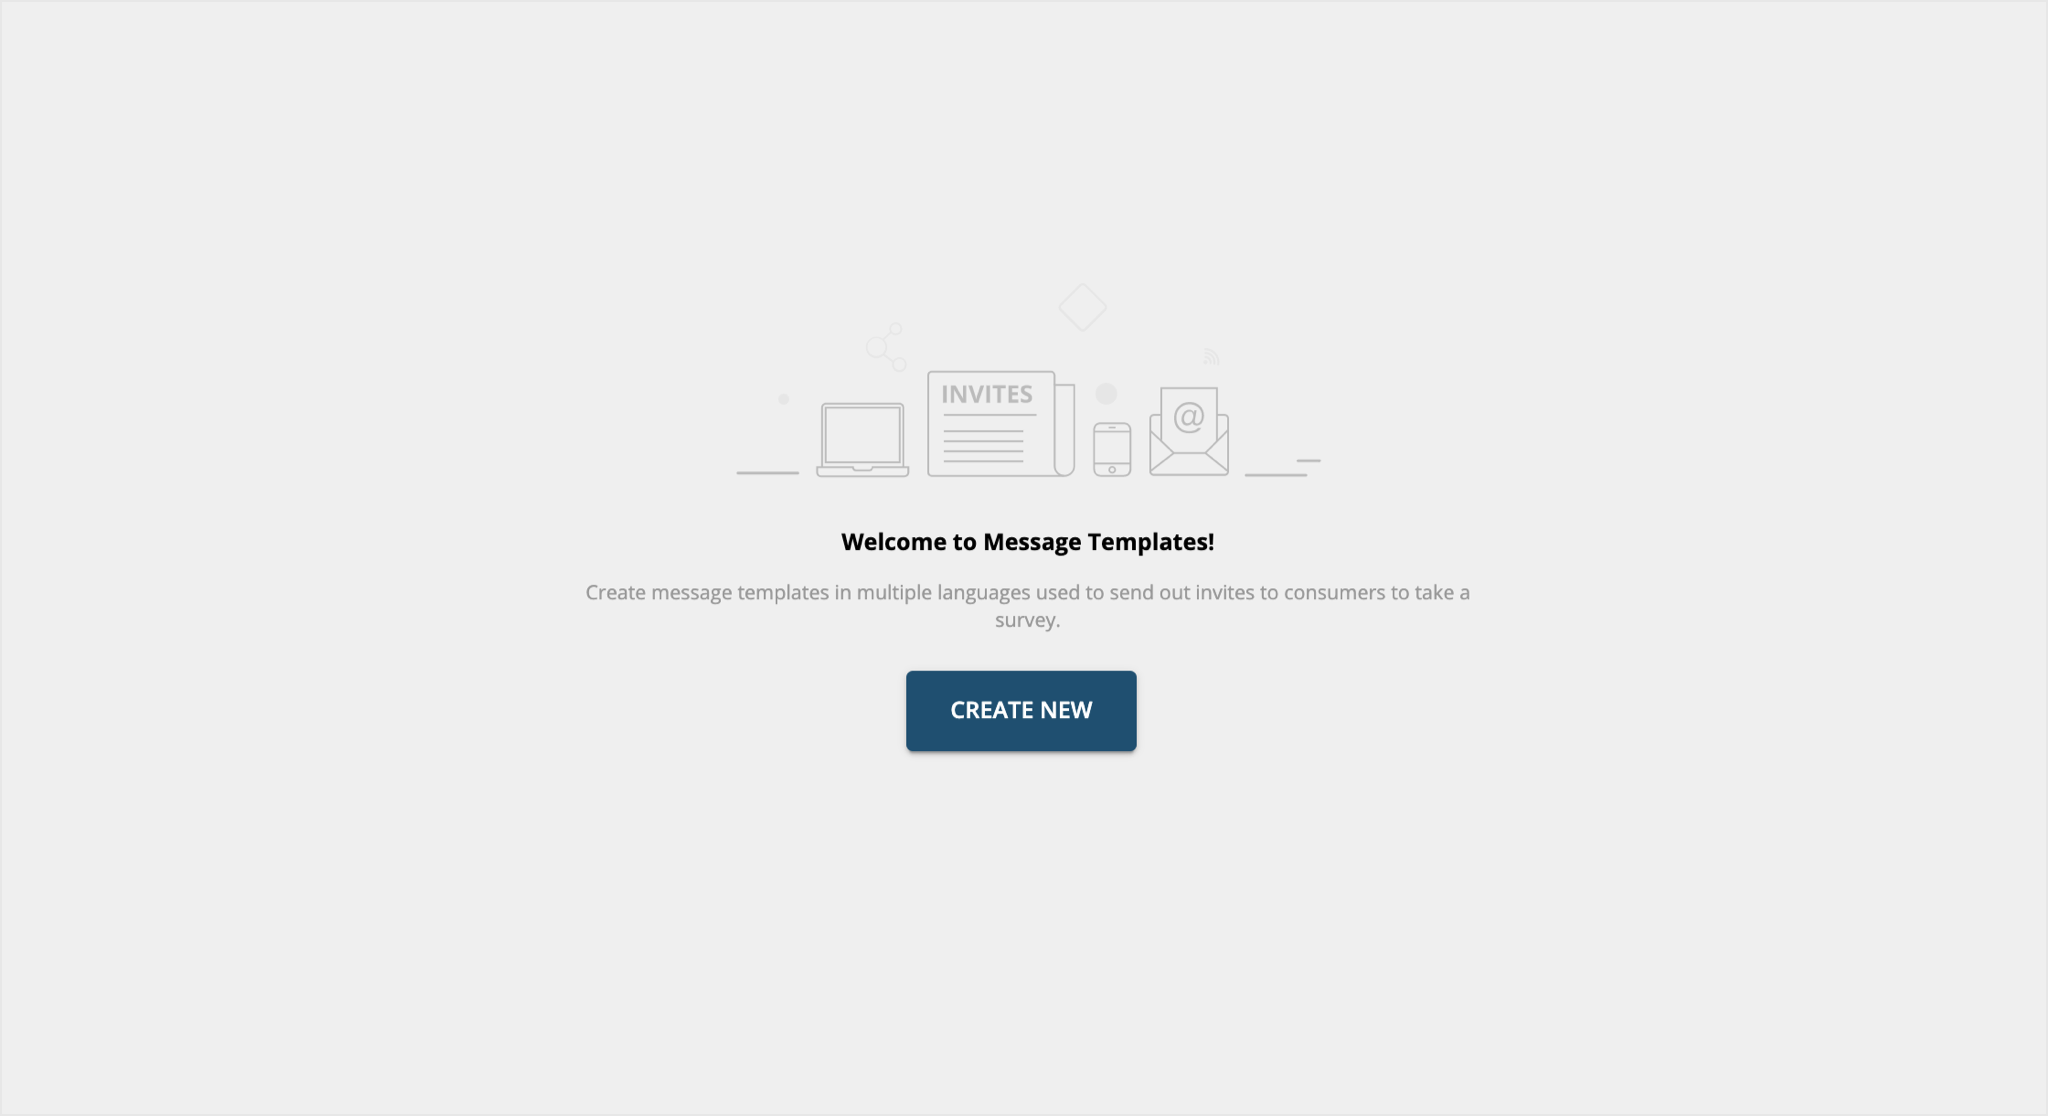
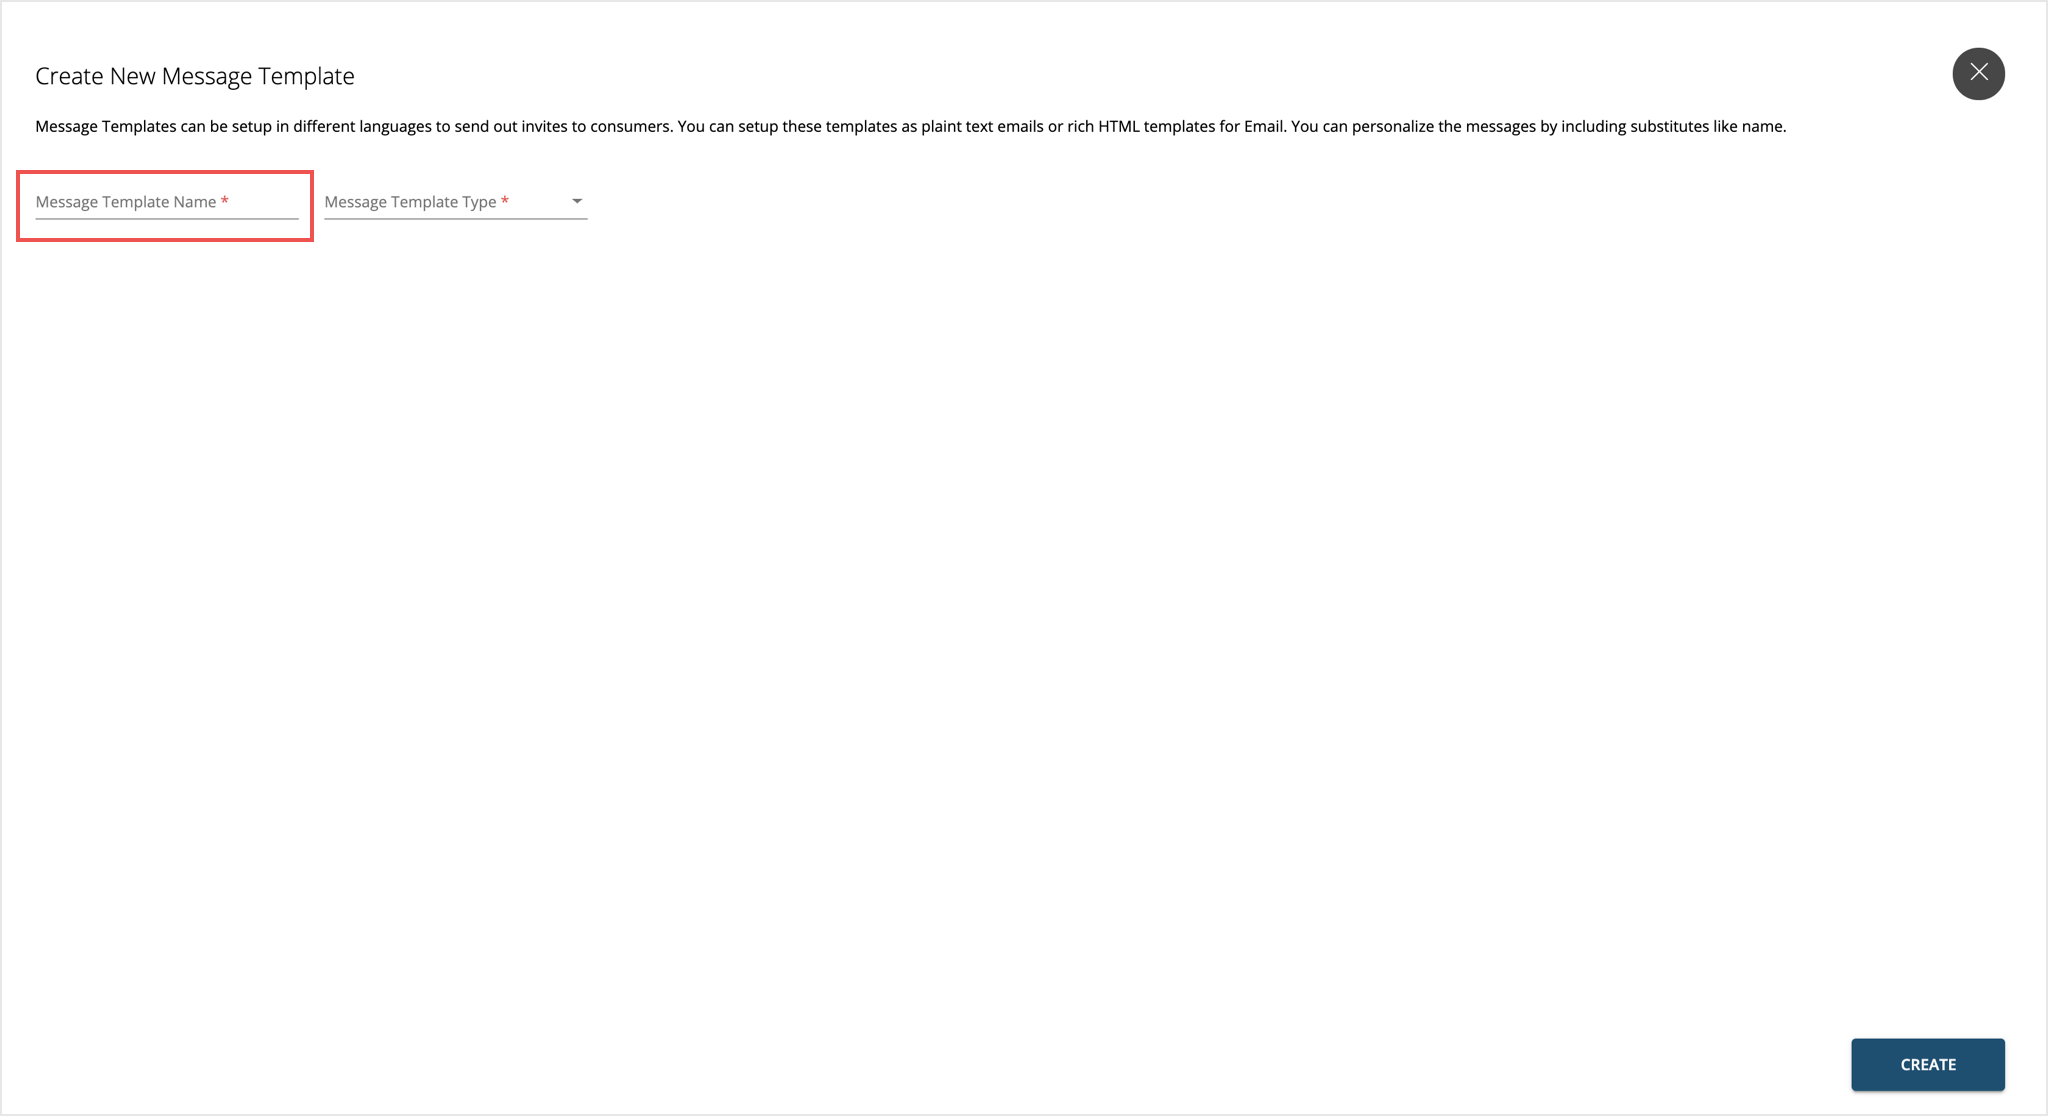
To create a new Message Template, click on the “CREATE NEW” button.
-
Give a name to the new Message Template. Use names that are unique and easily identifiable. This helps to select this Message Template without confusion in other parts of the product.
-
Pick a Message Template type based on the intended use of the template. To know how to use substitutes and personalize the templates, see point 4 below.
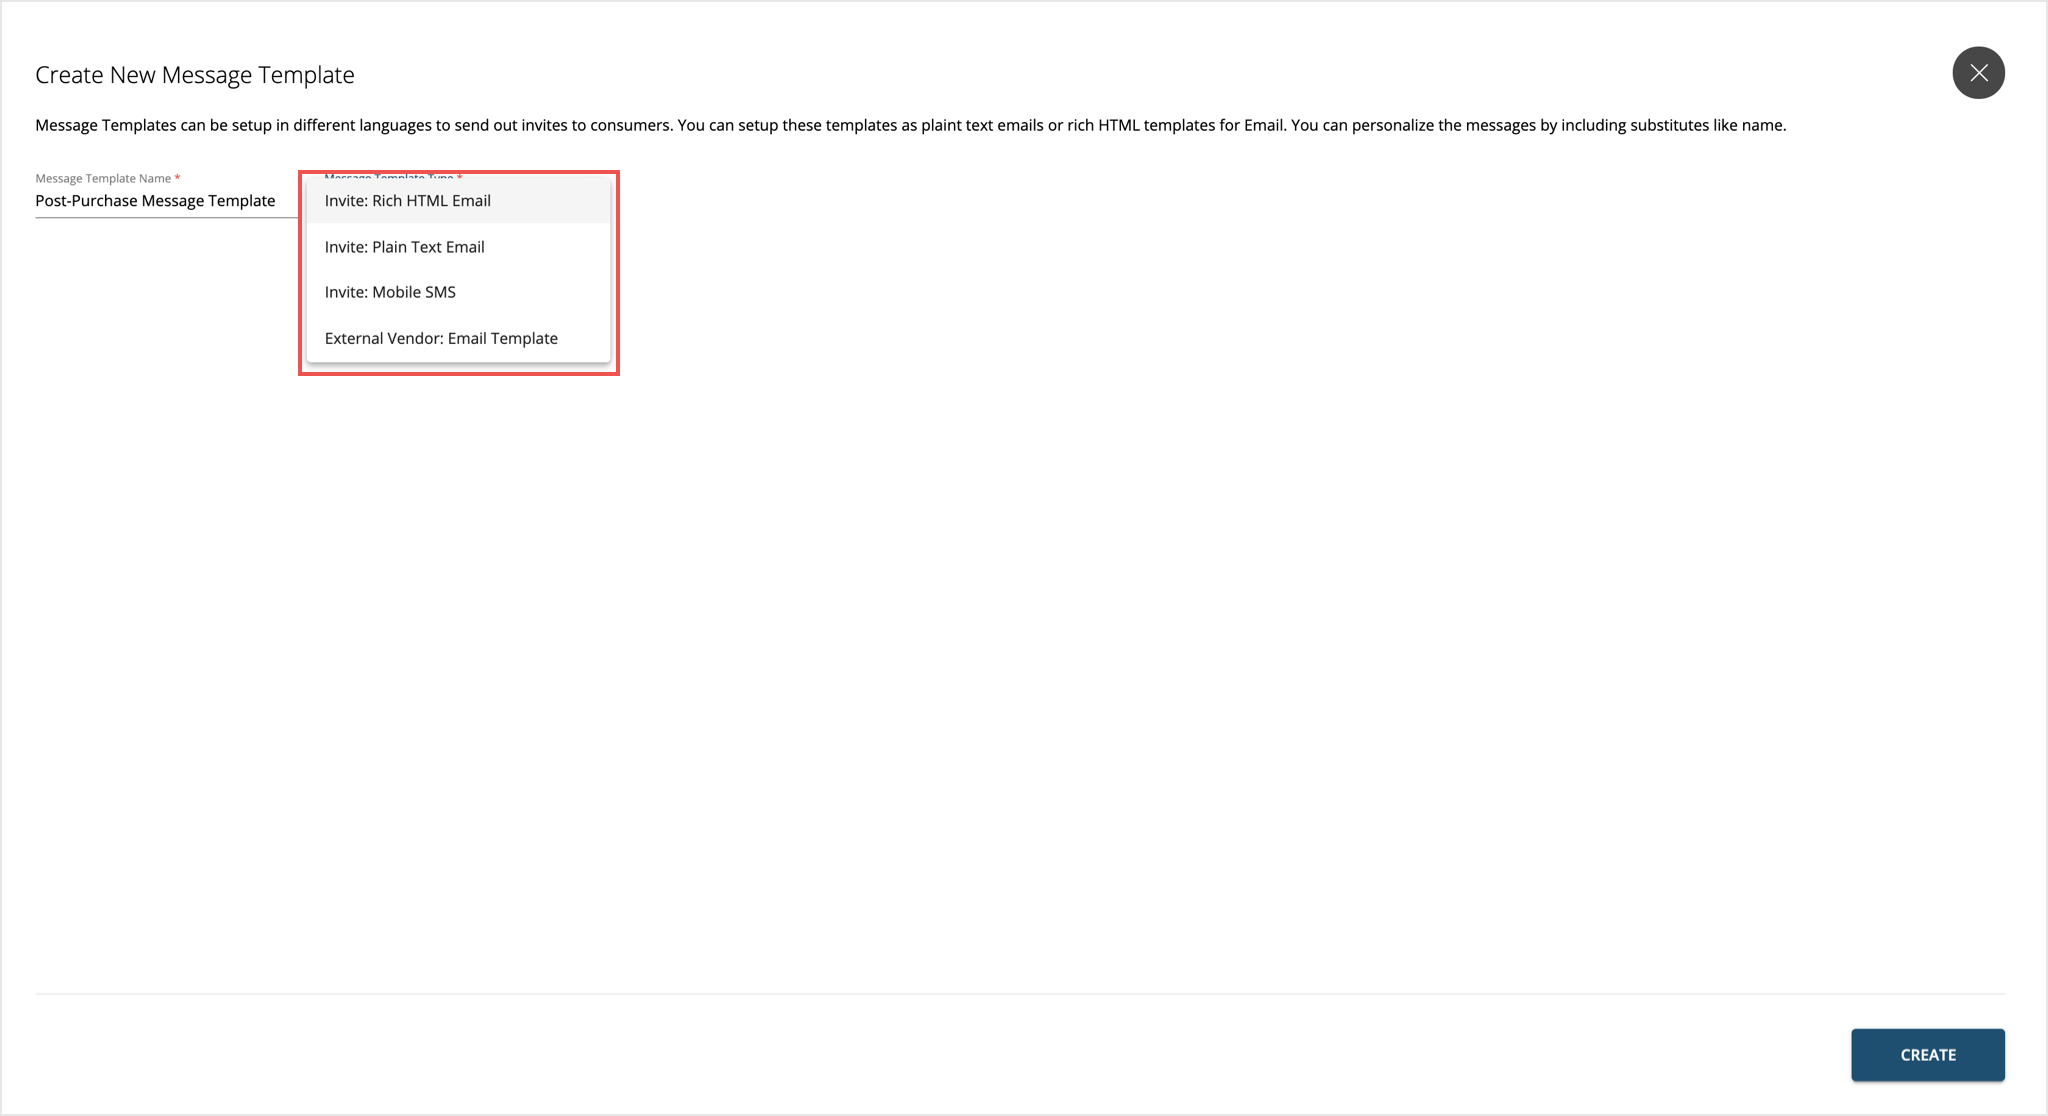
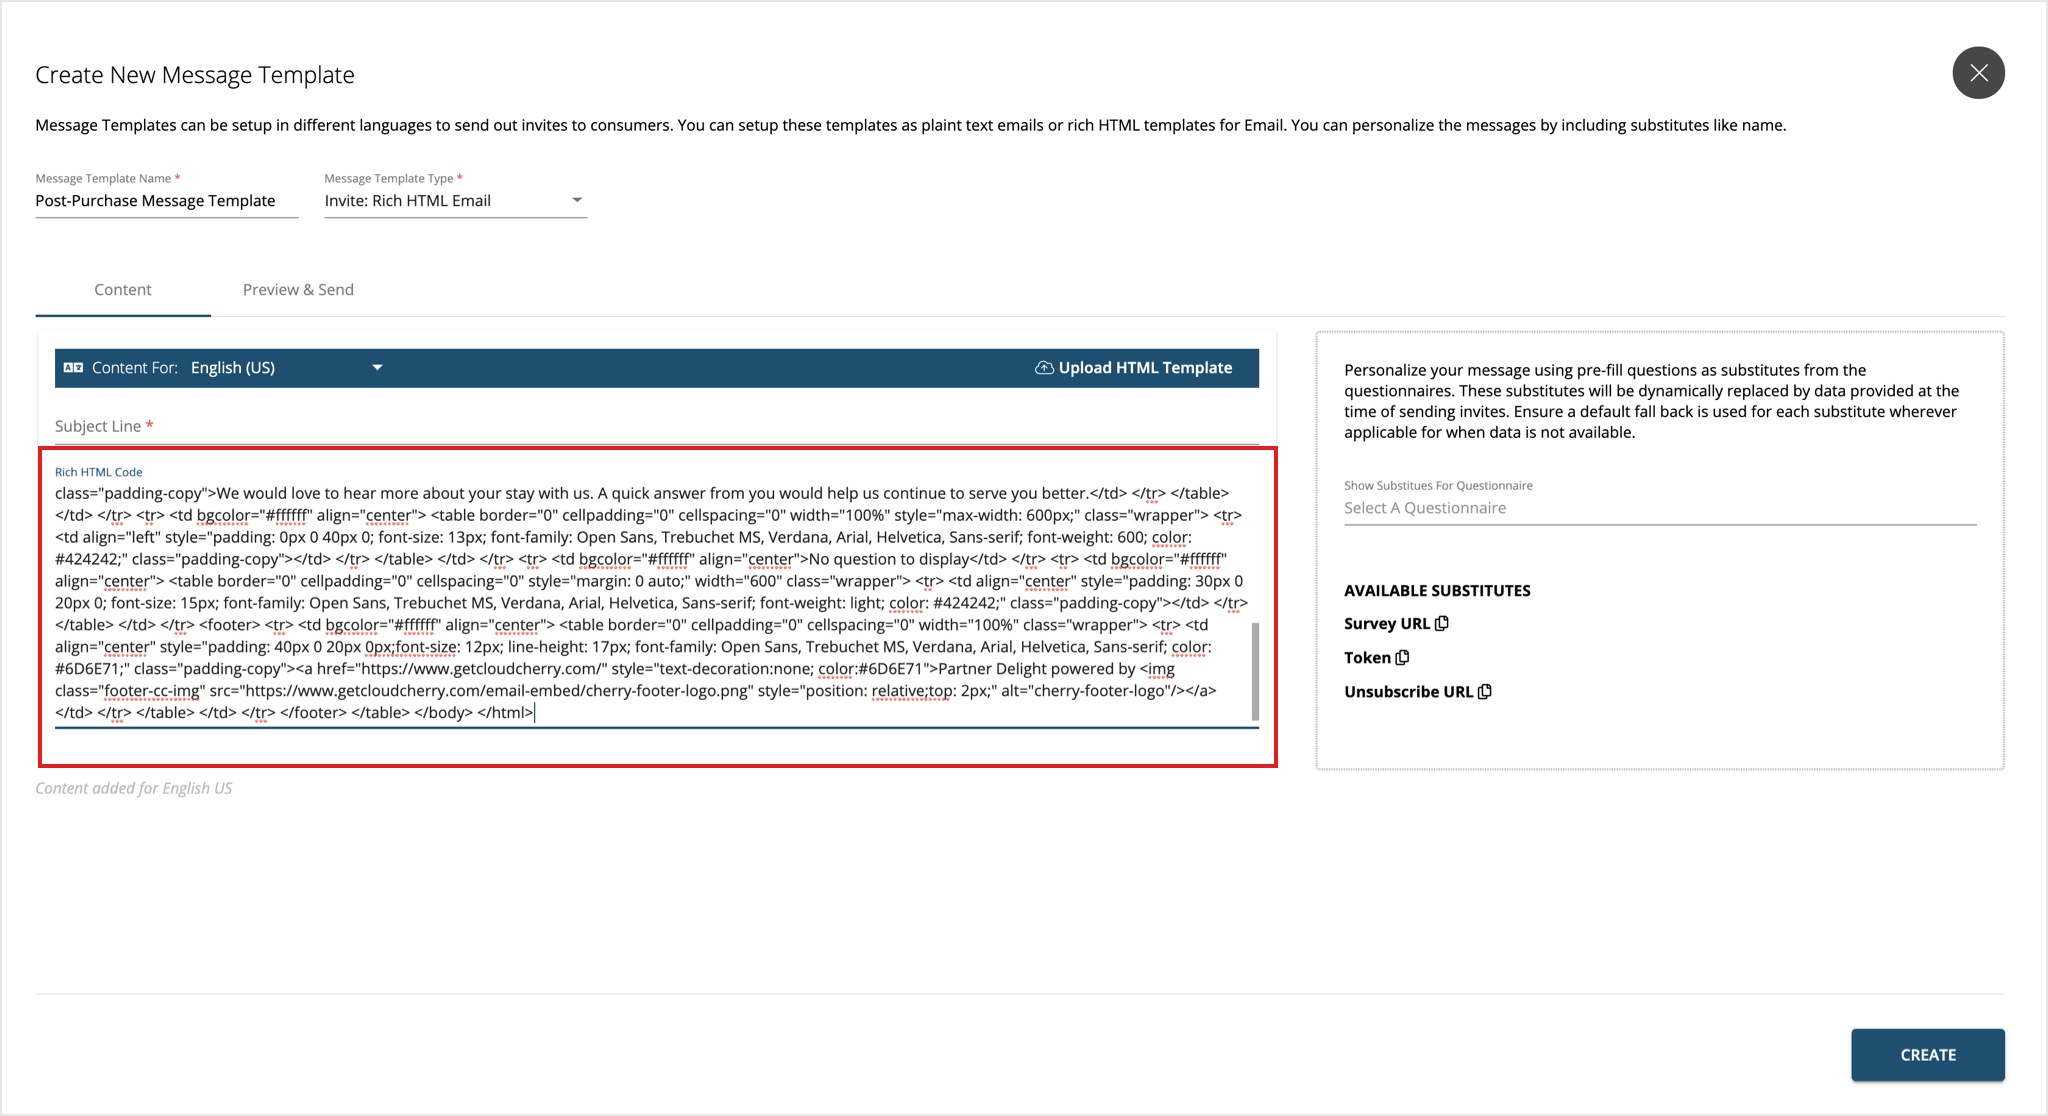
a. Invite: Rich HTML Email - To set up a Rich HTML Email template, give a subject line to the template. You can either create the message in this window, or use an existing template. To create a message in this window, type down the HTML Code. Format the text, and incorporate logos, images, and hyperlinks using the HTML editor to quickly create a message.
To use an existing template, upload the HTML file of the template by using the button in the right corner of the blue bar. Only HTML files can be uploaded. Alternately, you can copy and paste the HTML code in the content area.
The HTML editor in this window gives basic editing capabilities to quickly create a template. To make the best visual impact, you may design your HTML template using full-fledged design tools and upload or paste here.
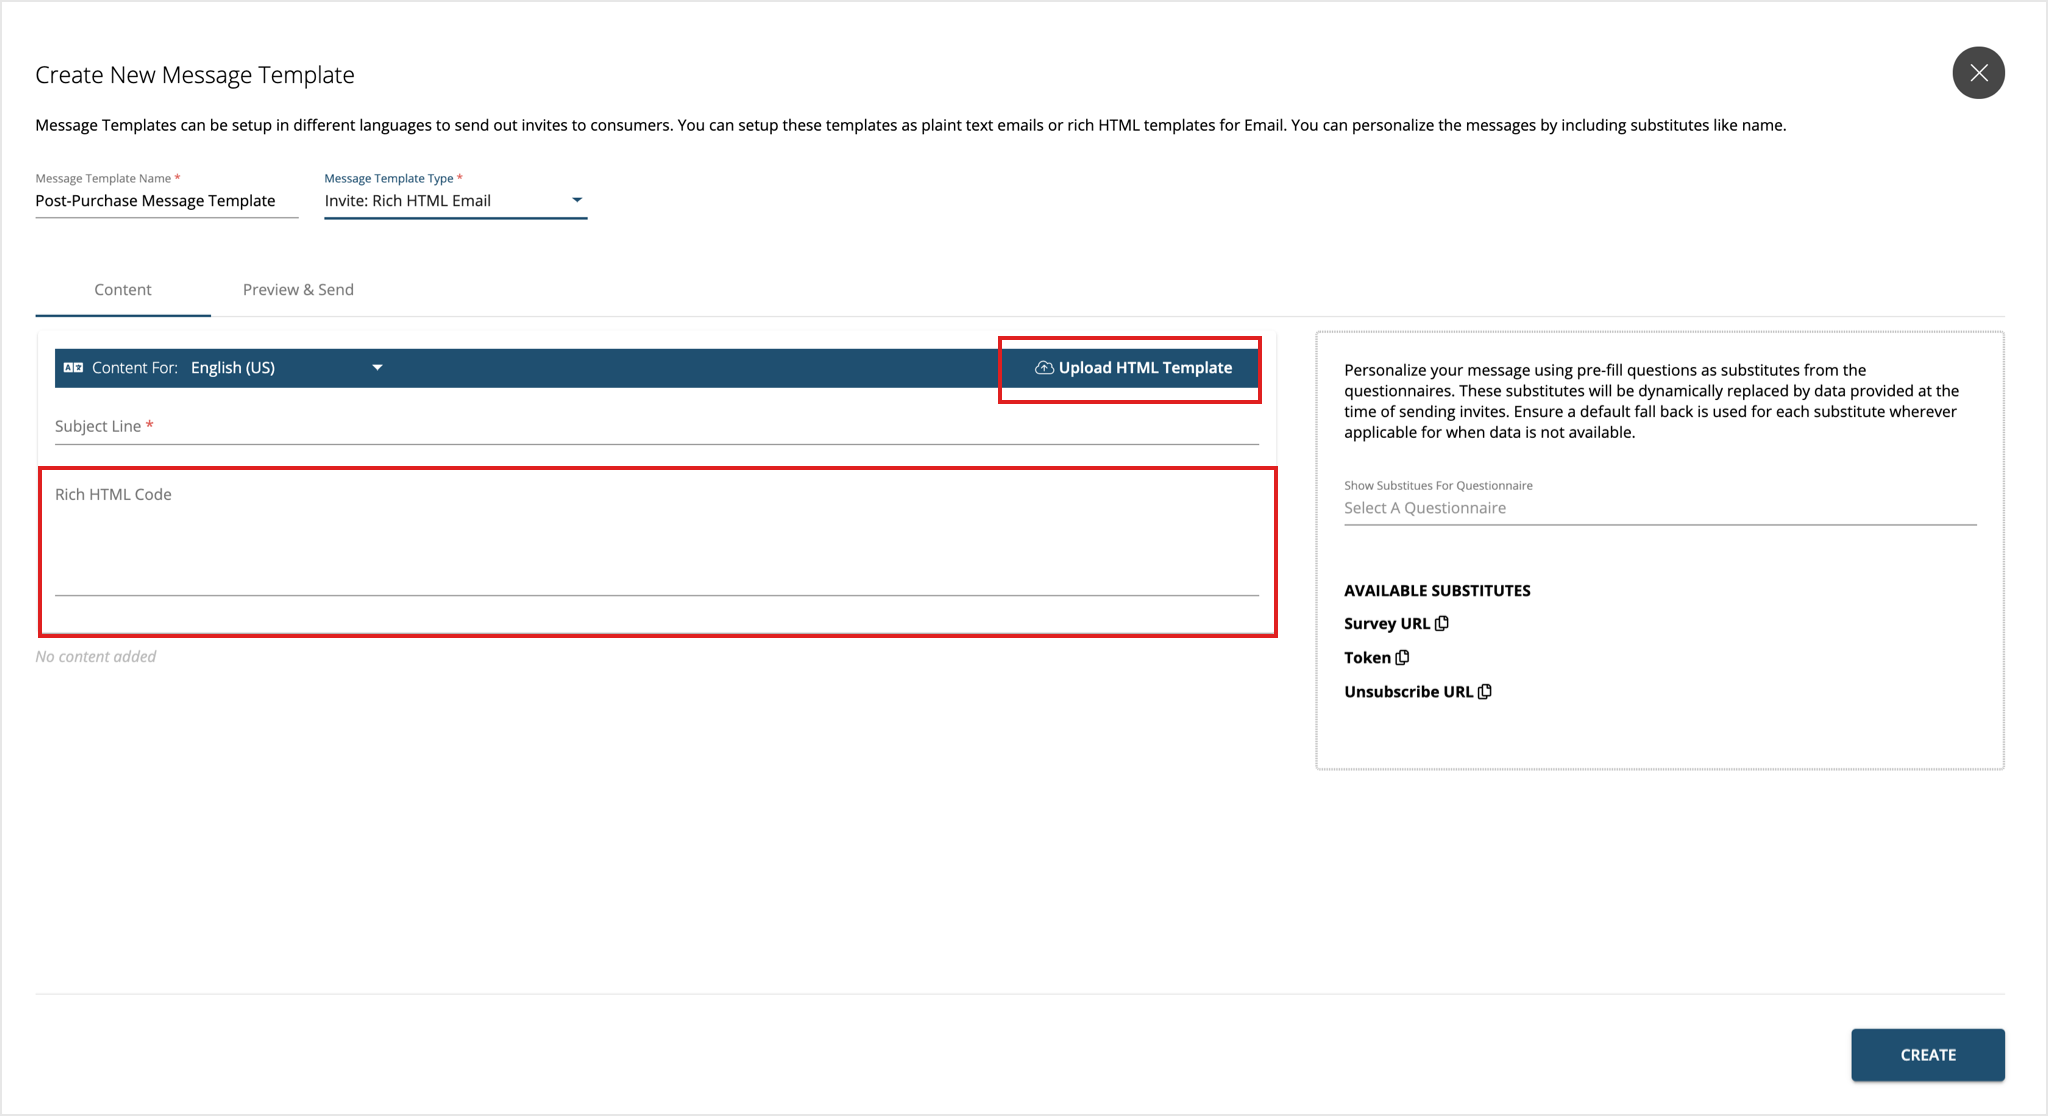
Once you upload the HTML file, the code gets populated in the content area. This code can be edited to make fine changes to the template.
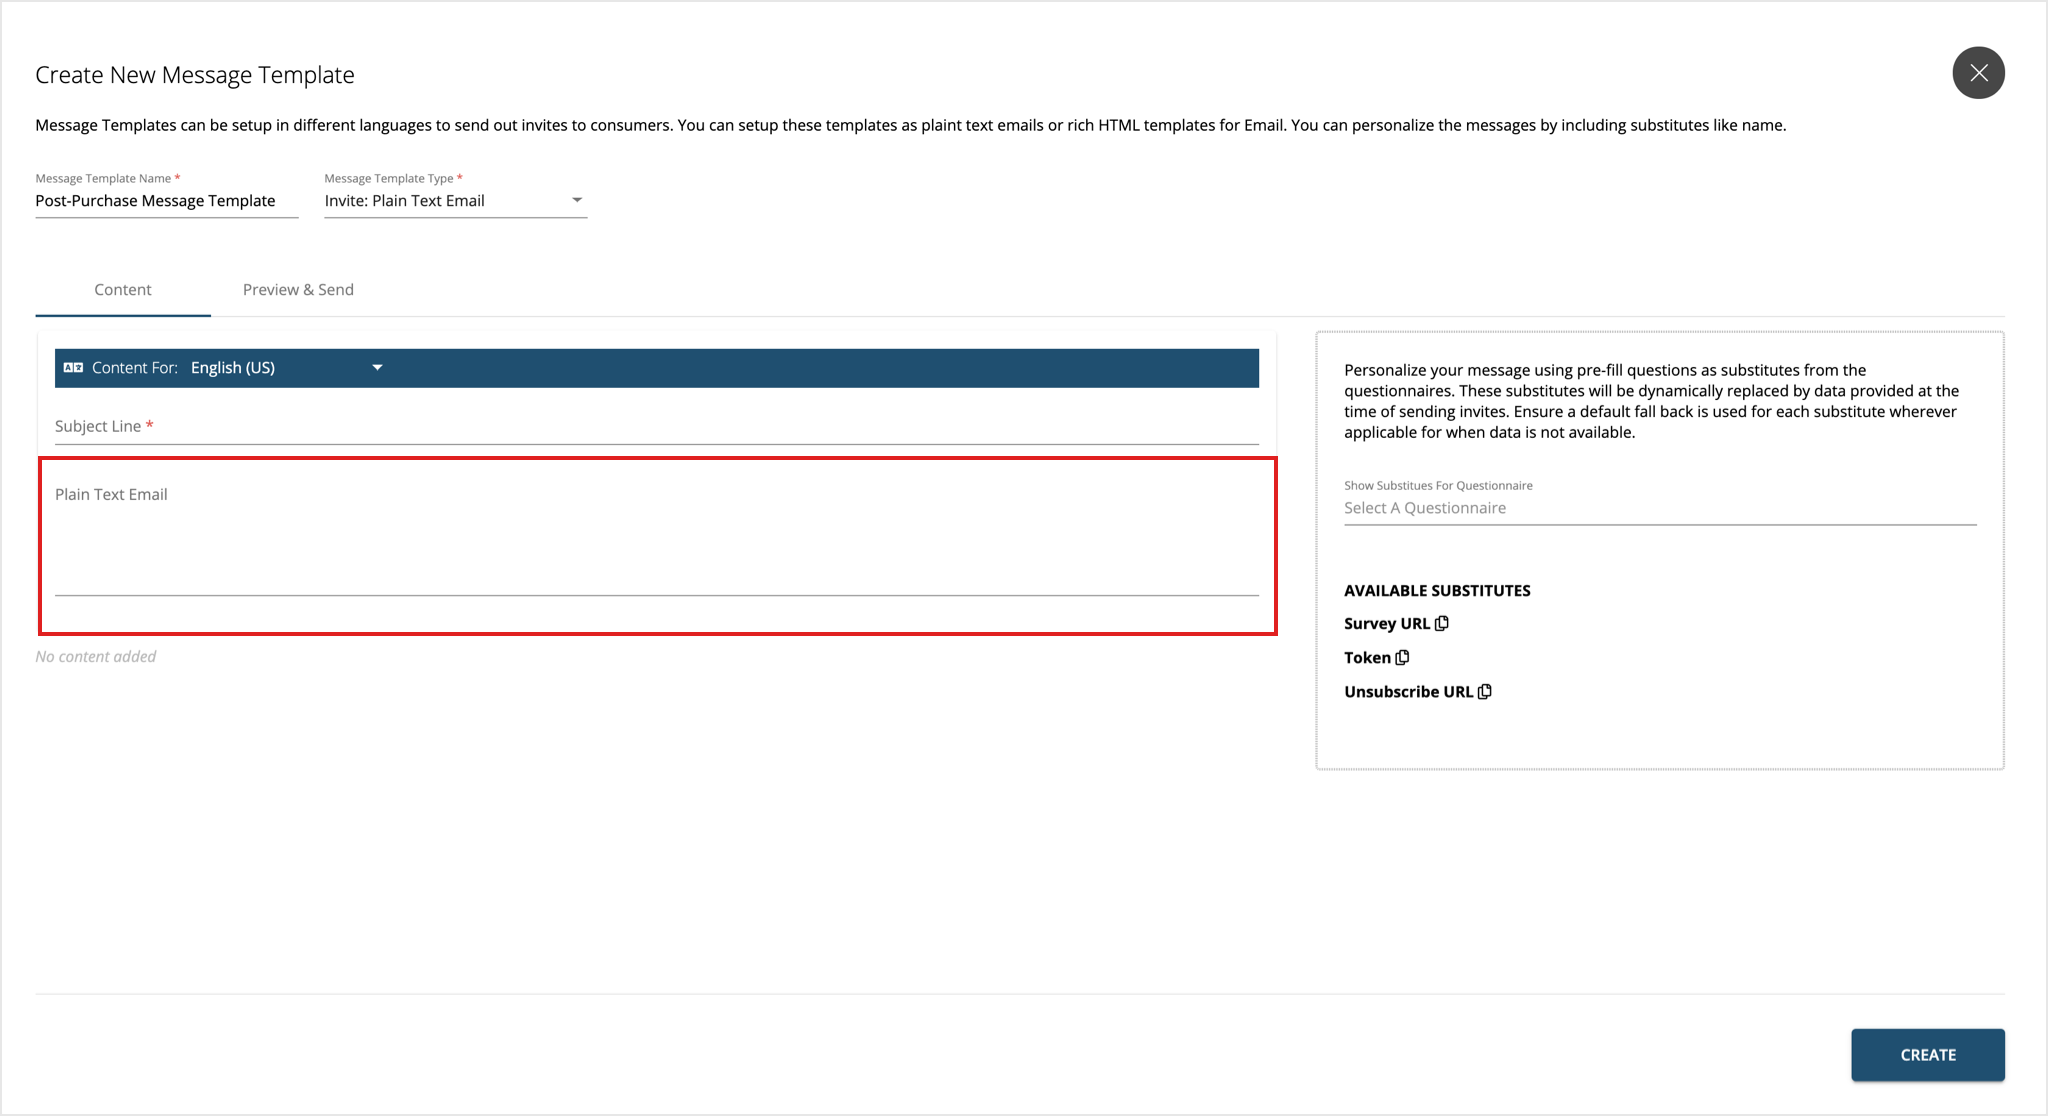
b. Invite: Plain Text Email - To set up plain text email template, start by giving the template a Subject Line and type out the message in plain text.
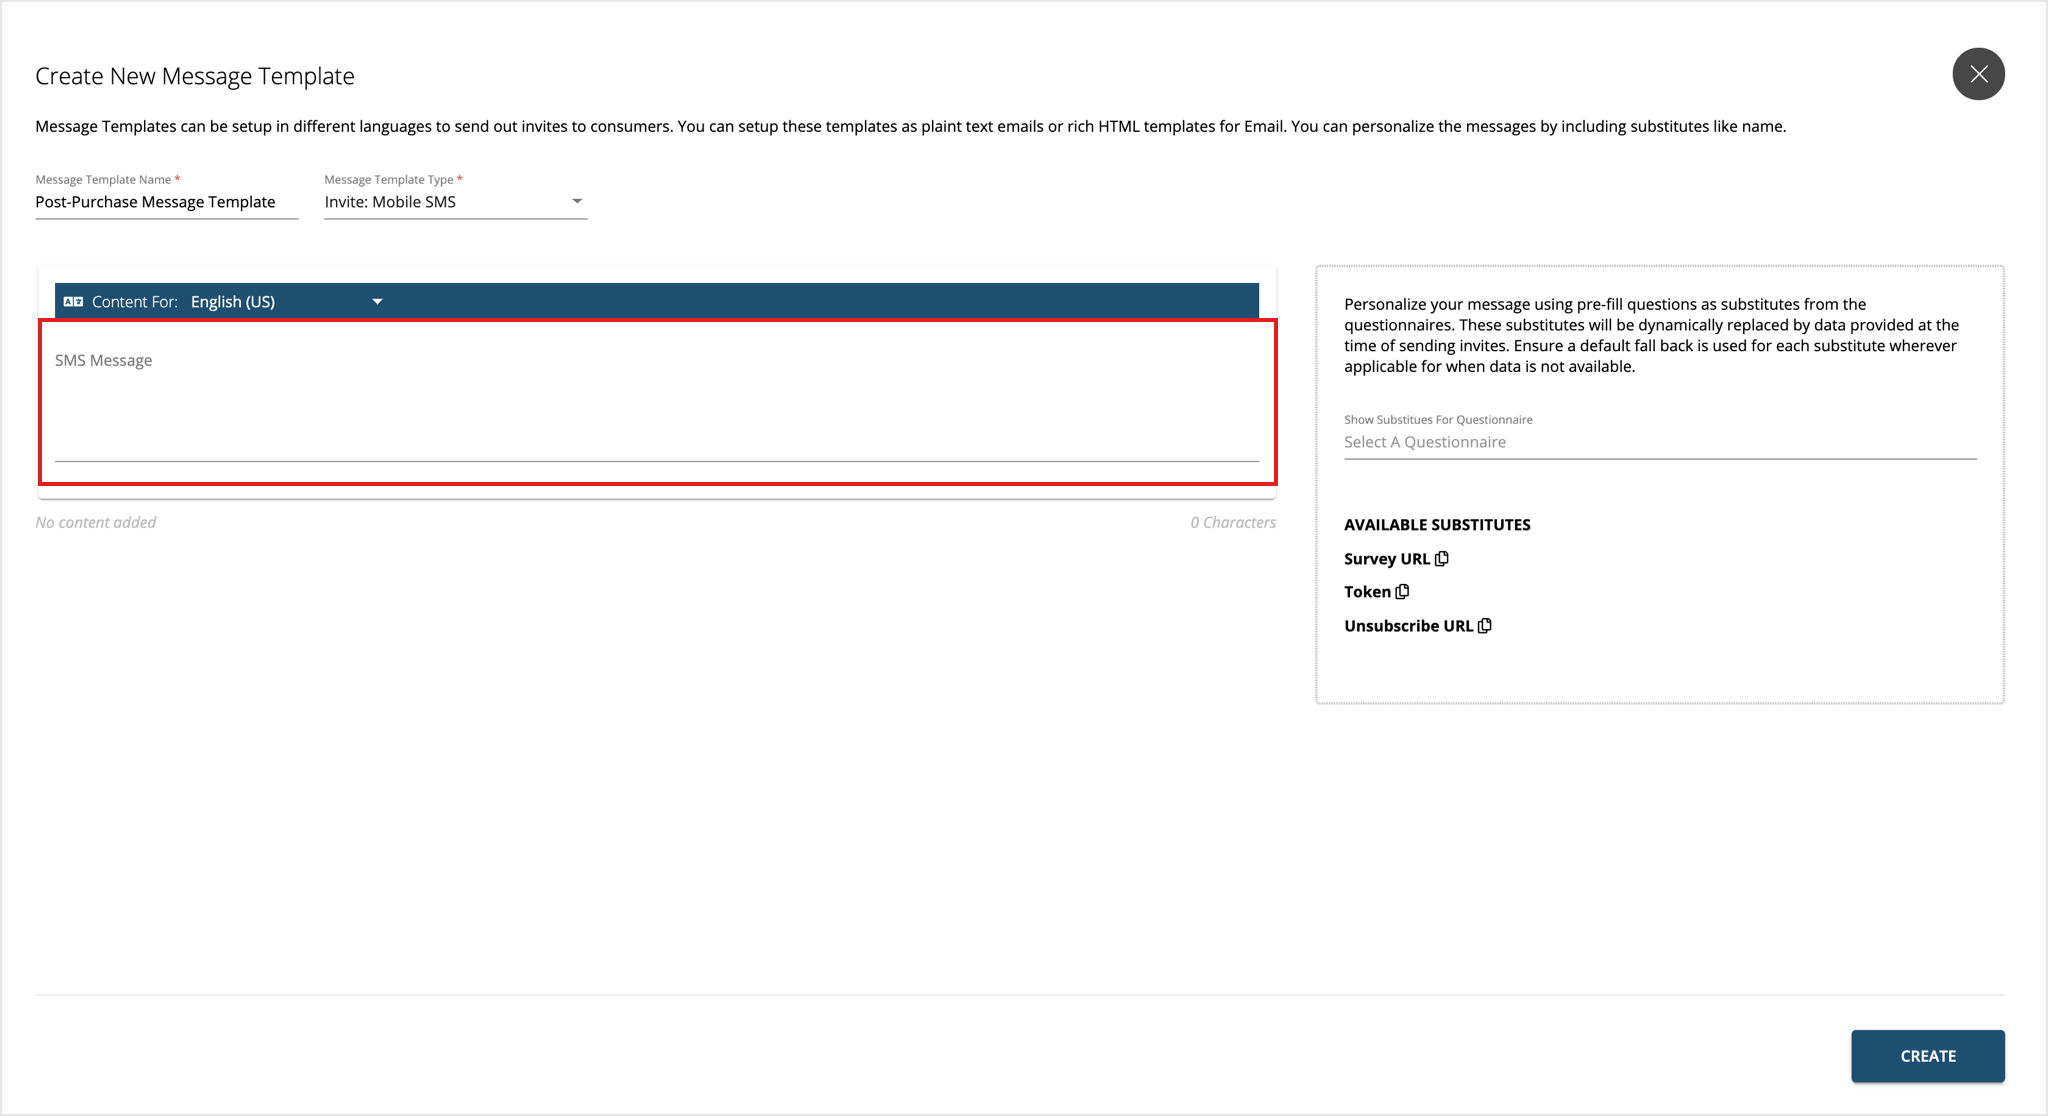
c. Invite: Mobile SMS - Type in the SMS content in the content area provided for SMS template. Your content may break into multiple messages depending on the character limits which differ across countries and service providers.
d. External Vendor: Email Template – Add the appropriate Subject Line. Upload the body of the email or paste the body in the content area. This template type is not validated for the substitutes used in the email. Therefore, you must ensure that the right substitutes are used in the vendor-recommended format. Also, this template type does not support adding language translations. You must create separate templates for each language.
-
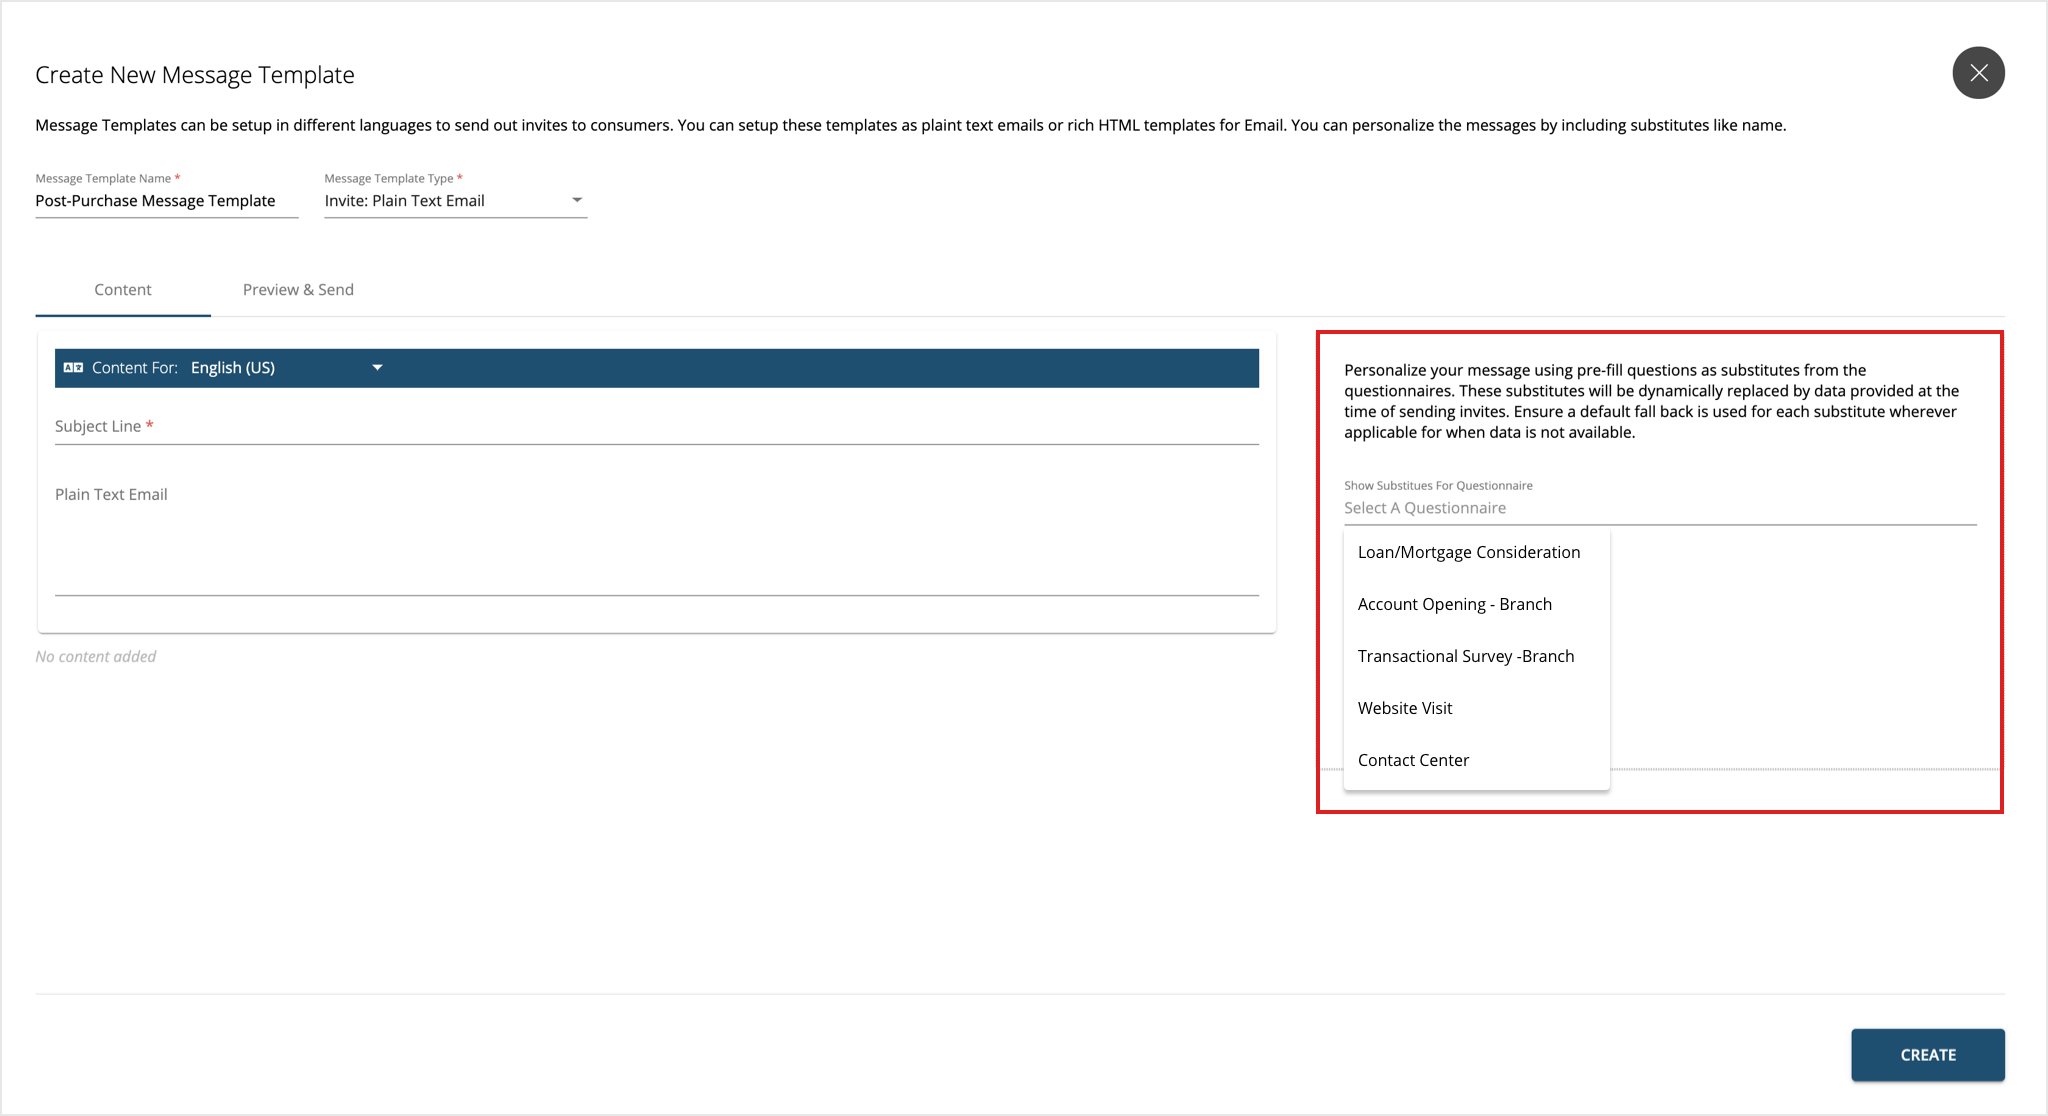
Substitutes are a way of personalizing the message. This is done using pre-fills in questionnaires. The substitute is replaced with respective customer data received in the data file or via an API. The same is then captured in the response as well.
For example, your emails could directly address your customers by their name like 'Hi John Doe!” by using the substitute for name. Substitutes also support fallback. So, in case the data is not available for a specific customer, the message becomes “Hi There!”The supported format for substitutes in the Message Templates is $display name|DEFAULT VALUE|
Just replace the display name with the actual display name of the questions form the questionnaire and the DEFAULT VALUE with the fallback text to be displayed when the data is unavailable.
To view substitutes available for any given questionnaire, you can select the questionnaire in the right panel.
Apart from the substitutes available from a questionnaire, a few default substitutes are readily available. These are survey URL, Token ID and Unsubscribe Link. These do not support any fallback. Survey URL should be mandatorily used in the template to allow customers to provide feedback.
Token ID is useful in creating HTML templates with embedded questions. Unsubscribe should be used as per best practices allowing customers to choose if they wish to receive future messages or not.
-
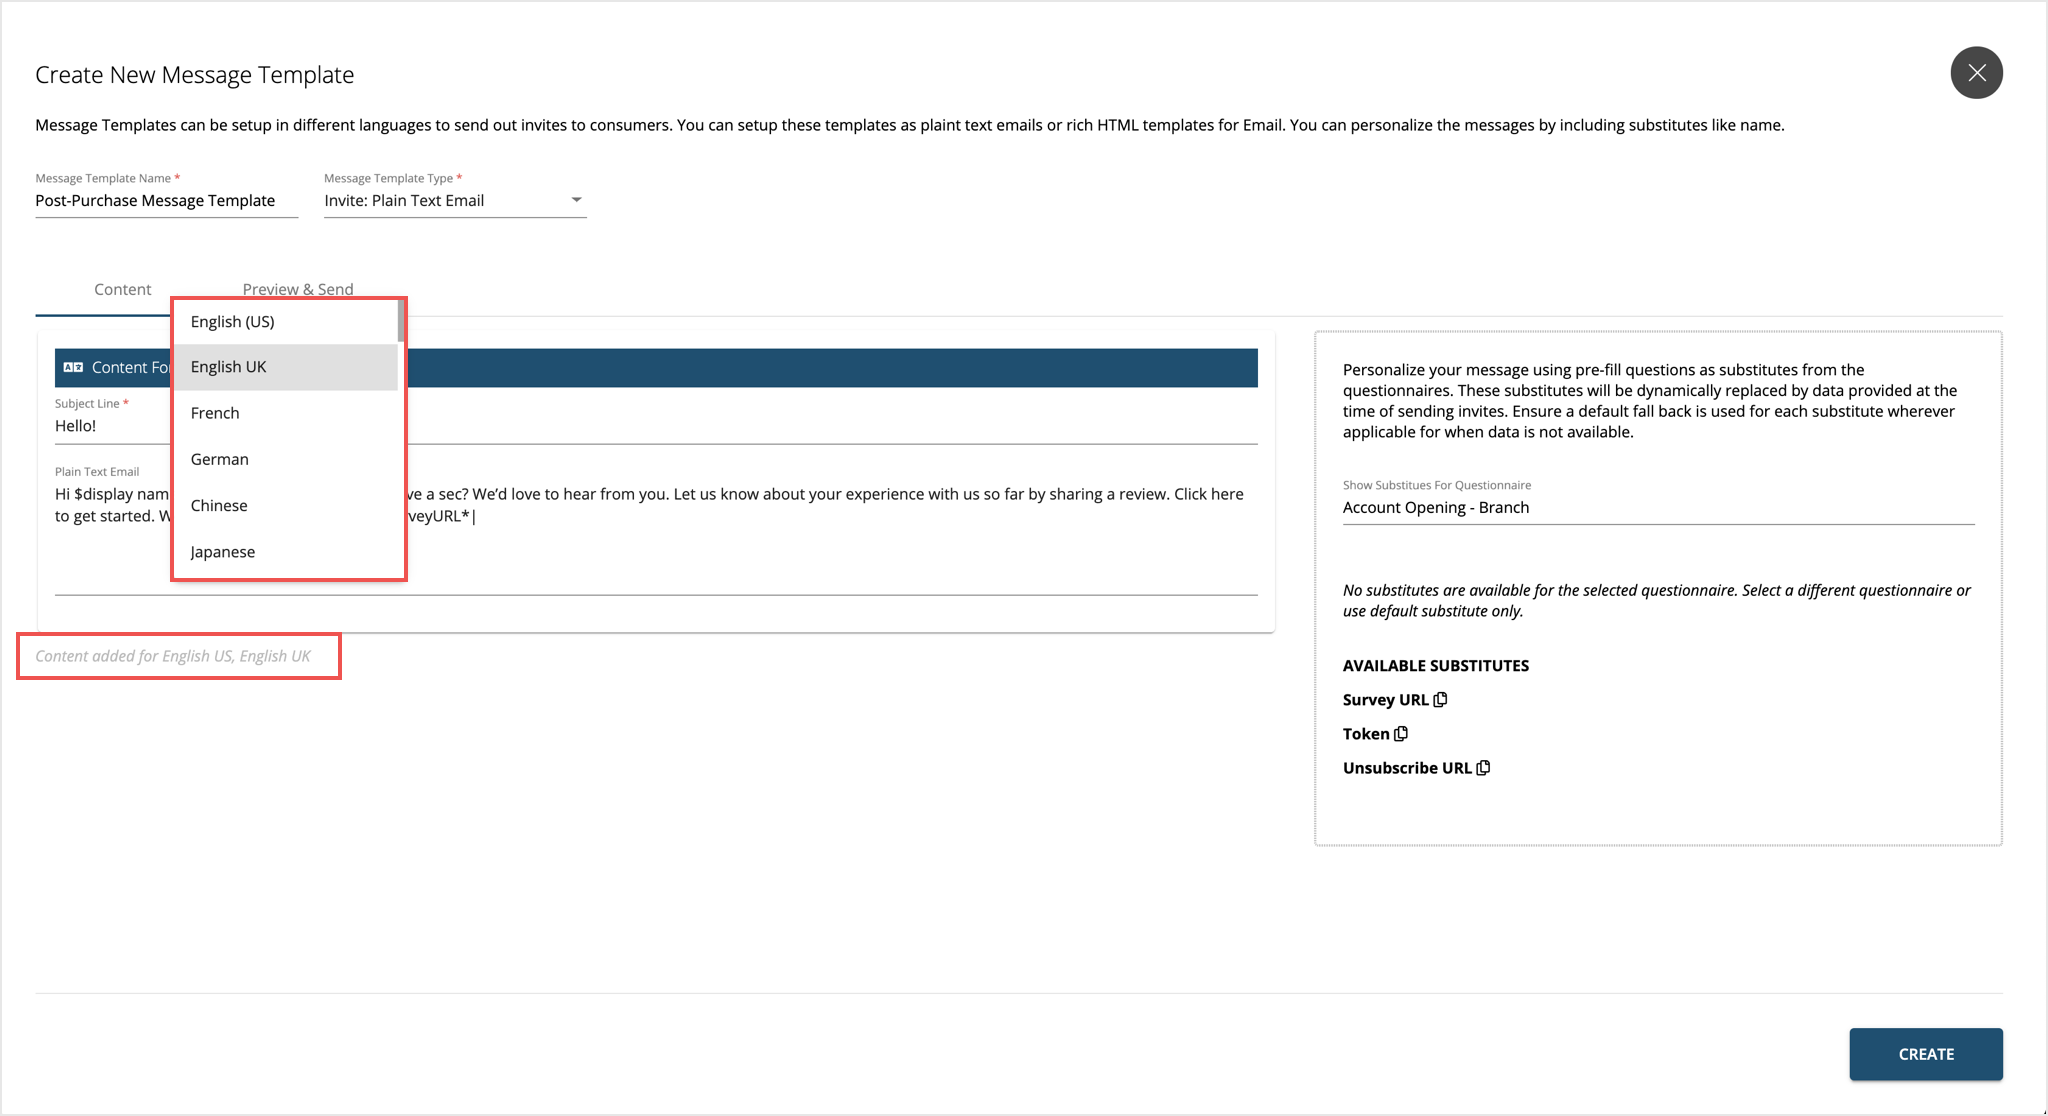
Adding content for multiple languages is available for Plain Text, Rich HTML, and Mobile SMS templates. Users can select languages in the header block of the message for which they wish to add content. A single Message Template can hold messages in multiple languages.
Once a language is selected, users can paste (or type) out the content in that language. Based on the preferred language in the Token Template, the message will be sent in that language (if available). In case a template is missing in the preferred language, the system falls back to English.
A footer below the message block indicates the languages in which the message has been added for the template.
-
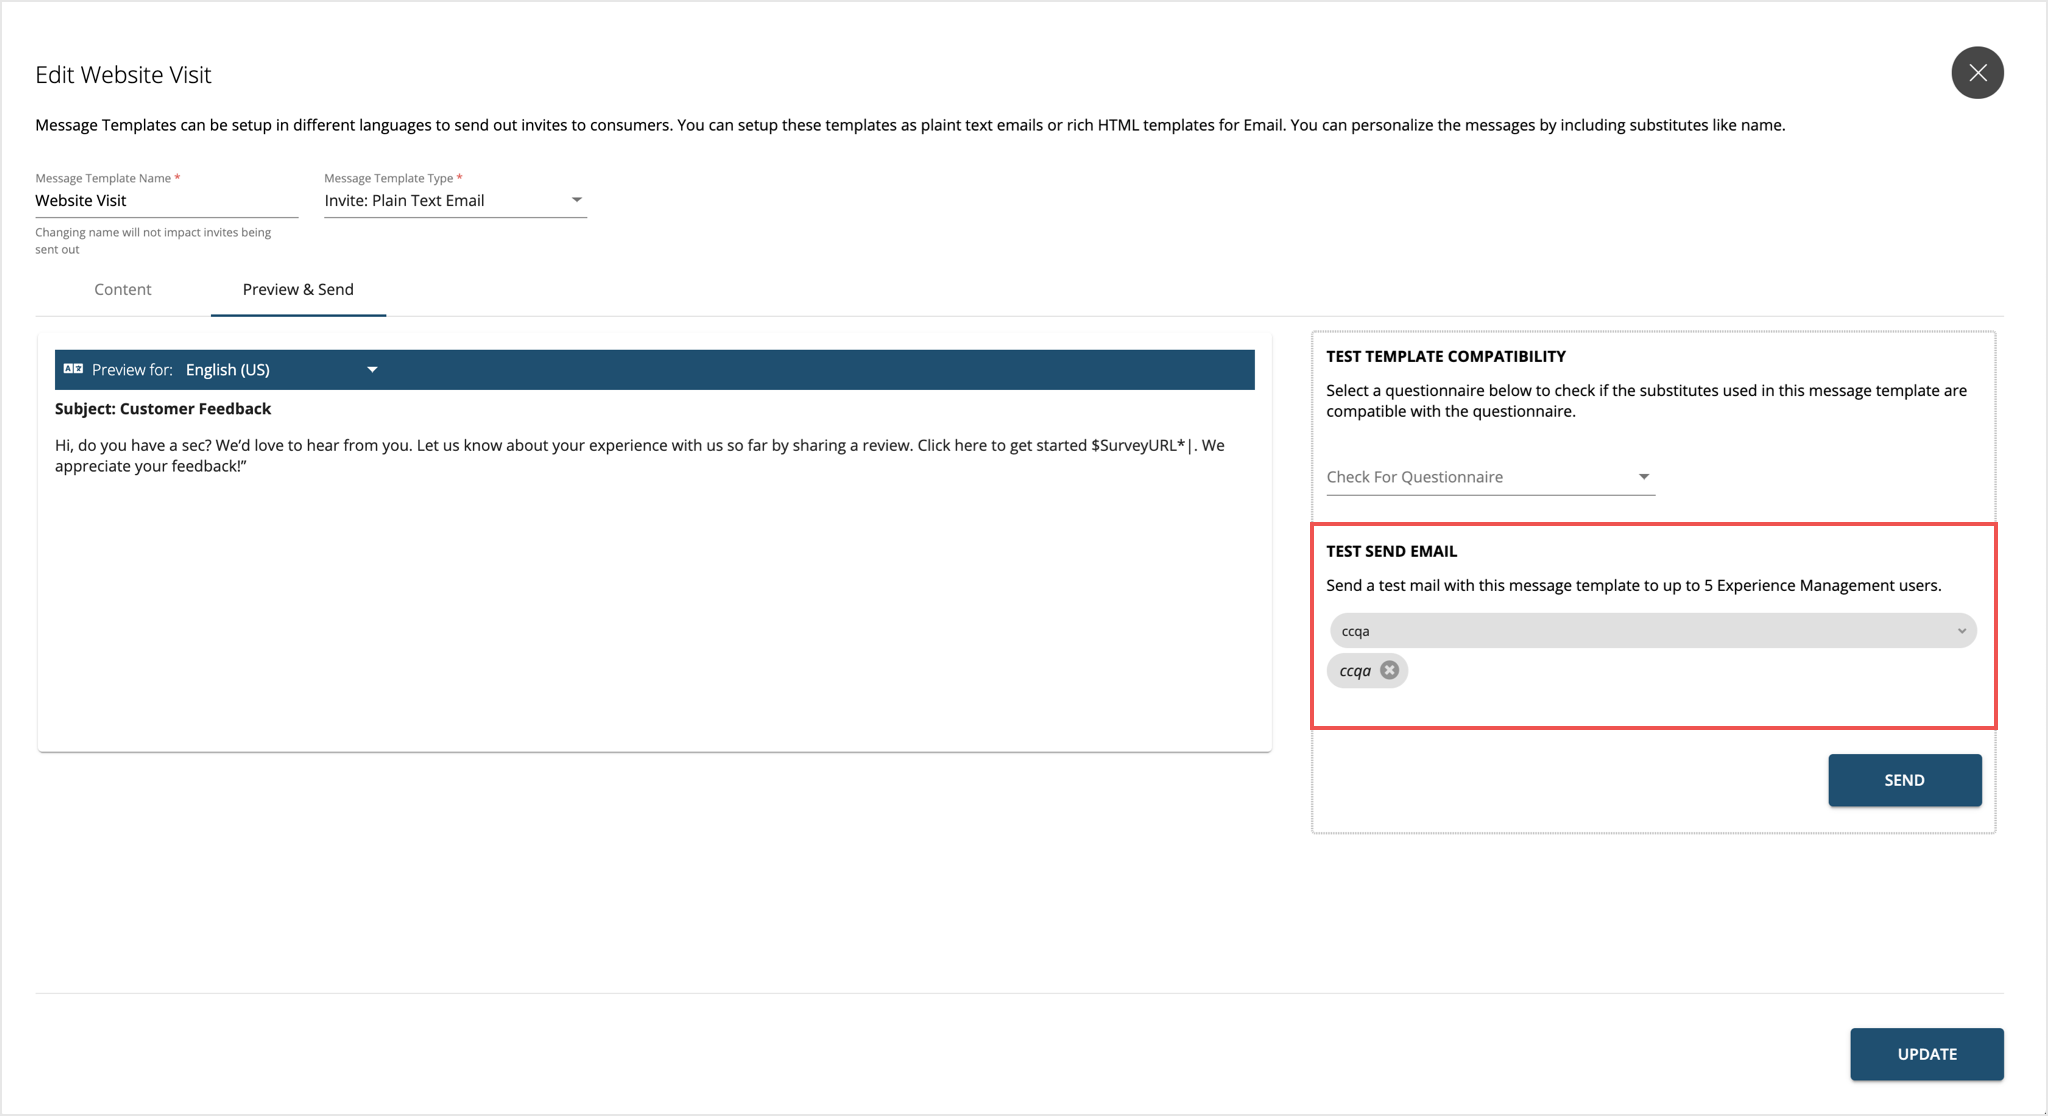
Preview & Send – This is a quick way to test the templates by sending it out to other Experience Management users. After the content is added to a template, you can switch to the Preview and Send tab to see how the template looks like. In case of Rich HTML templates, they will be able to see actual rendered preview of the template. Users can also switch between languages in the preview pane.
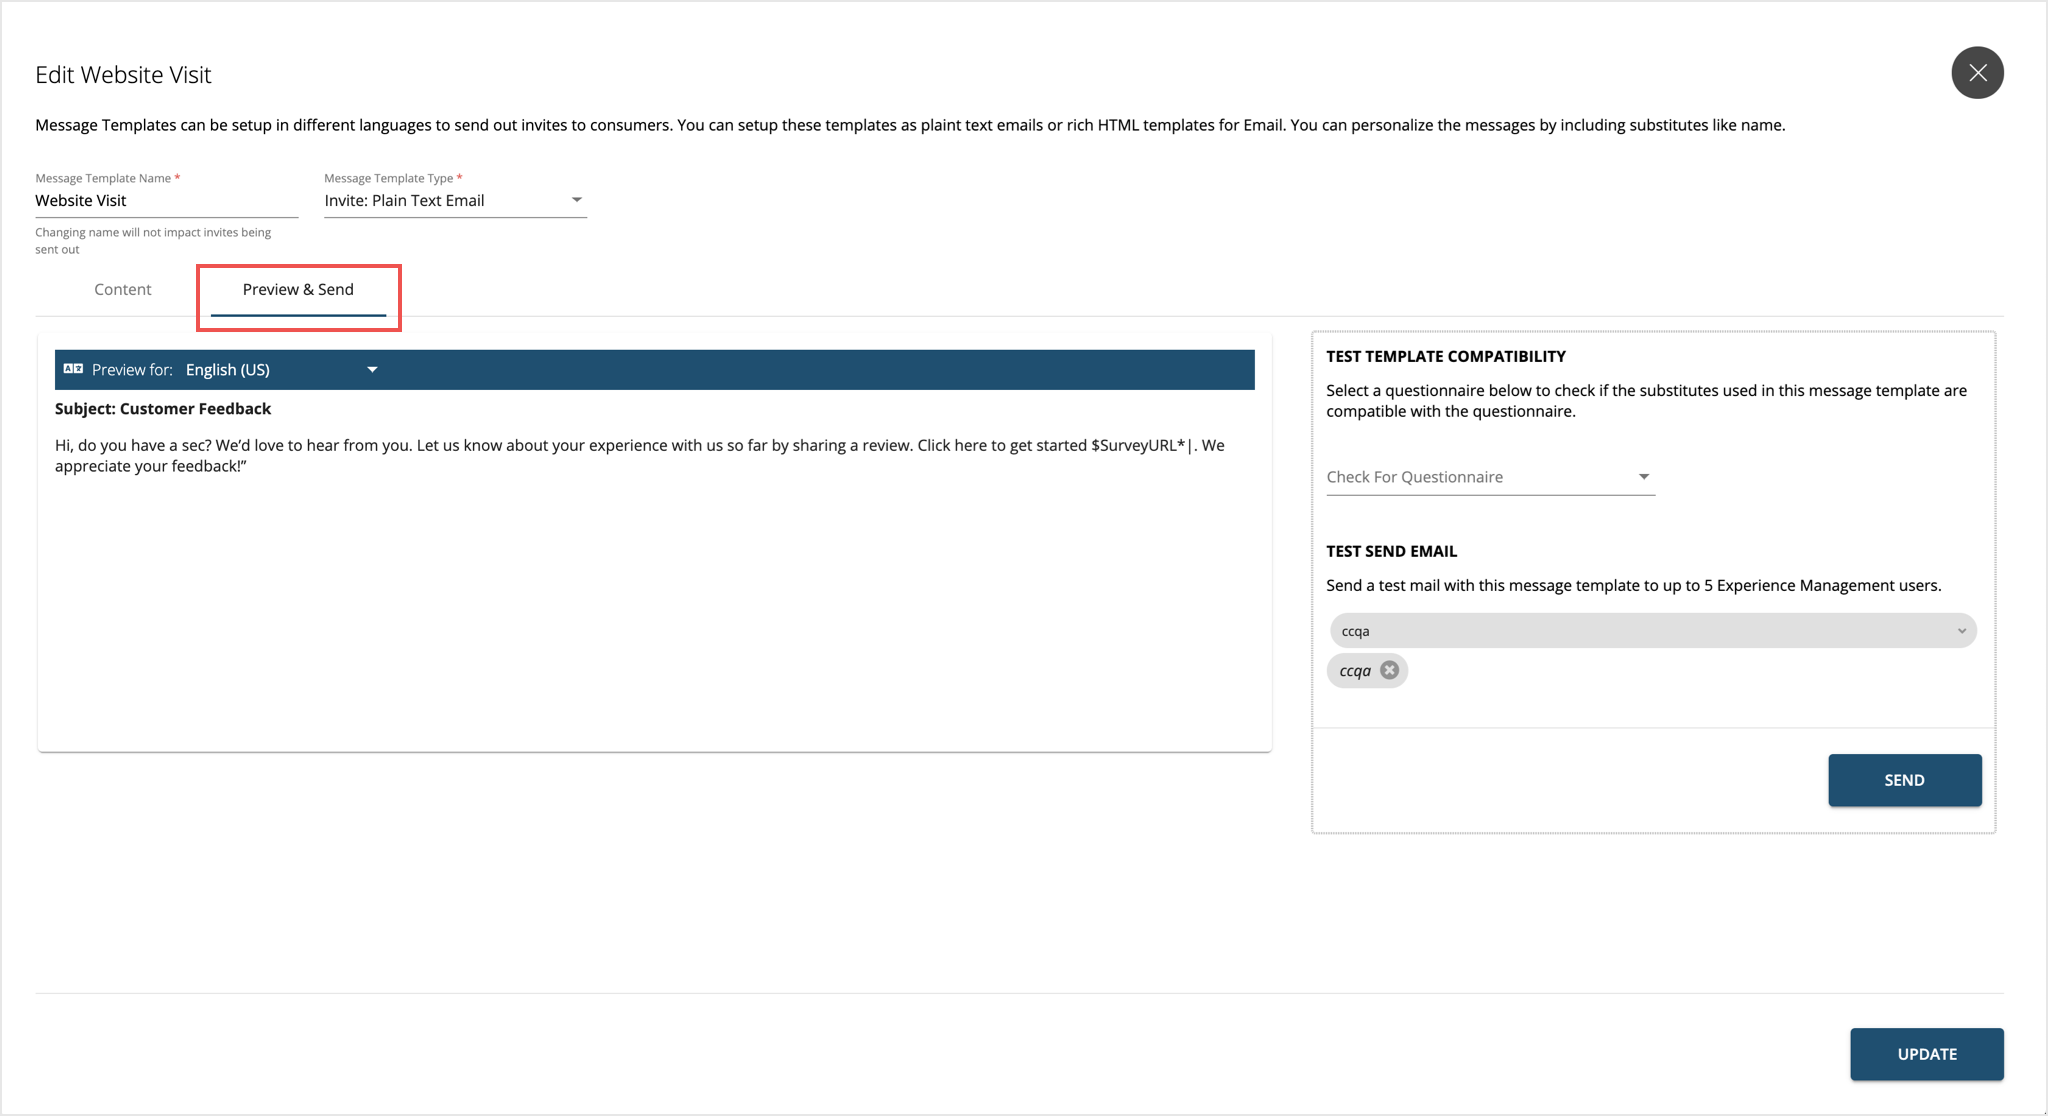
On the right panel, the template can be checked for compatibility for any questionnaire to ensure that the substitutes used in the template are available in the questionnaire. Upon selecting a questionnaire, if the error “Template Is Not Compatible” is displayed, then check the substitutes used in the template as some may be missing in the questionnaire. It is OK to proceed even with an incompatible questionnaire as long as fall back text is properly setup and in this case, the email will display this fallback text all the time in the absence of the data for this substitute.
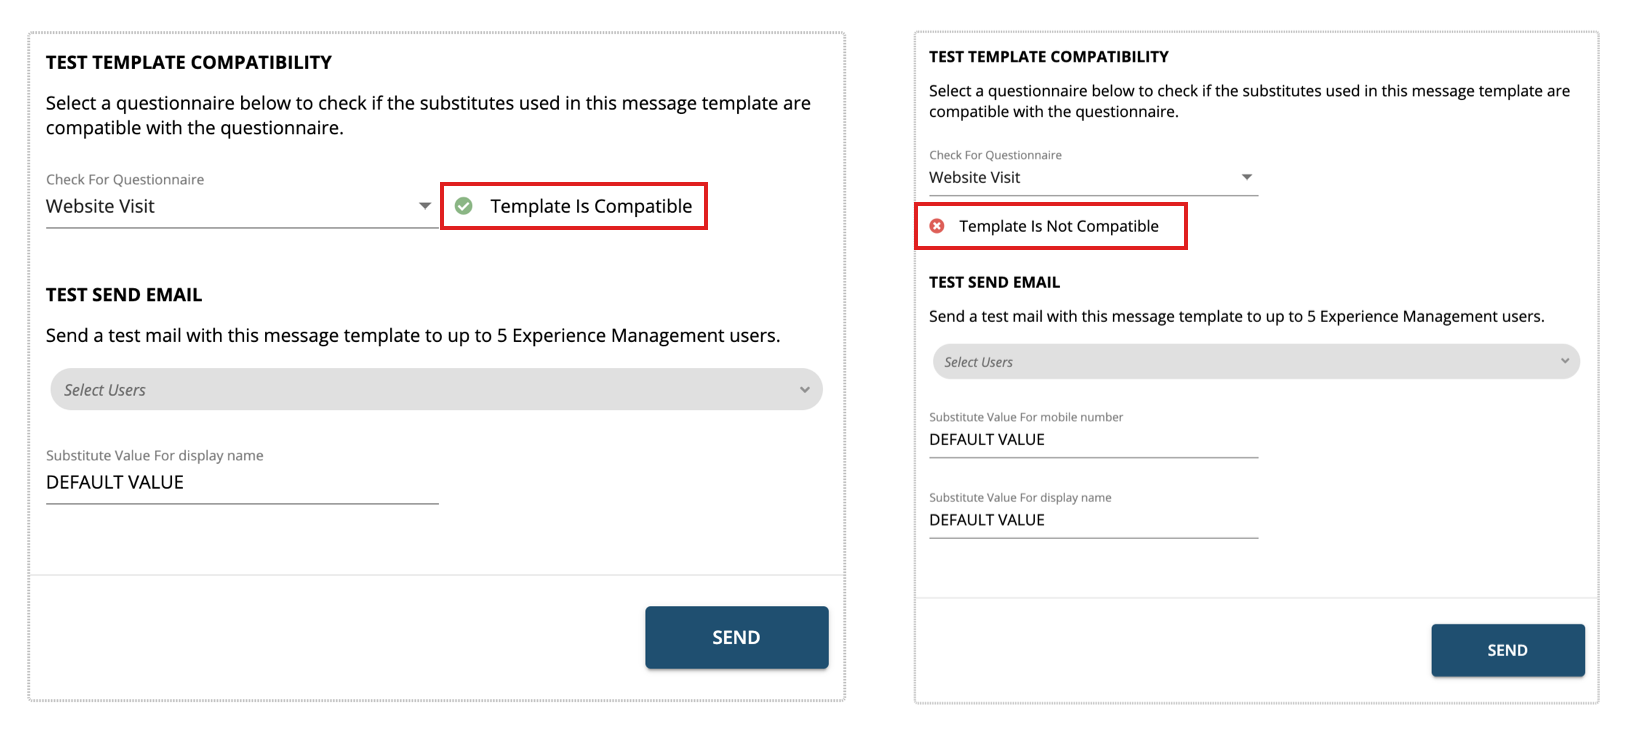
Users can be added using the drop down in the right panel and pre-fills used in the template as substitutes can be populated with data while sending out the templates. For example, a name substitute is used in the email template, while sending the test email, this can be replaced with “John D”.
Test Send email allows sending test emails to up to 5 sub users of Experience Management. All the users will receive the Message Template right away without any wait time. This will help you better understand how the message appears to the end user, fix any errors in the template.
IMPORTANT: Please ensure that Custom SMTP is configured in Experience Management to send the emails out. This can be setup at CX Setup > Account Settings > Integrations > Custom SMTP.
Editing and Managing Message Templates
Message Templates can be edited any time by clicking on the template in the table and making changes as desired.
All changes made to a Message Template will not impact any existing invites already sent out.
Users can edit any Message Template. However, it is strongly recommended not to change the message type once a template has been finalized. This may lead to issues and breaks in the way the messages are sent out.
-
Change Name – This will have no impact on invites being sent using the Message Template.
-
Change Message Type – (NOT RECOMMENDED) Changing the Message Template may lead to issues and breaks in the way the messages are sent out. For example, if a Rich HTML is switched to plain text, then the message may go out displaying the actual HTML code and look broken to customers.
-
Add or Edit Message Content – Before you Save an edited template, preview and test the changes to ensure that the desired outcome is achieved.
-
Add Content for Other Languages – This can be done easily by switching to the language and adding content. This can be previewed and tested.
Deleting A Message Template
Deleting a Message Template is an action that cannot be undone. This will immediately pause all Dispatches using the deleted Message Template. You must then update these Dispatches with a new template and re-enable them to resume sending of invites.