
Token Template User Guide
Content Outline
Overview
Token Templates is a bunch of settings applied individually to every invite being sent using a dispatch that uses the Token Template. These settings include preferred language, validity of survey and so on.
Accessing Token Template
-
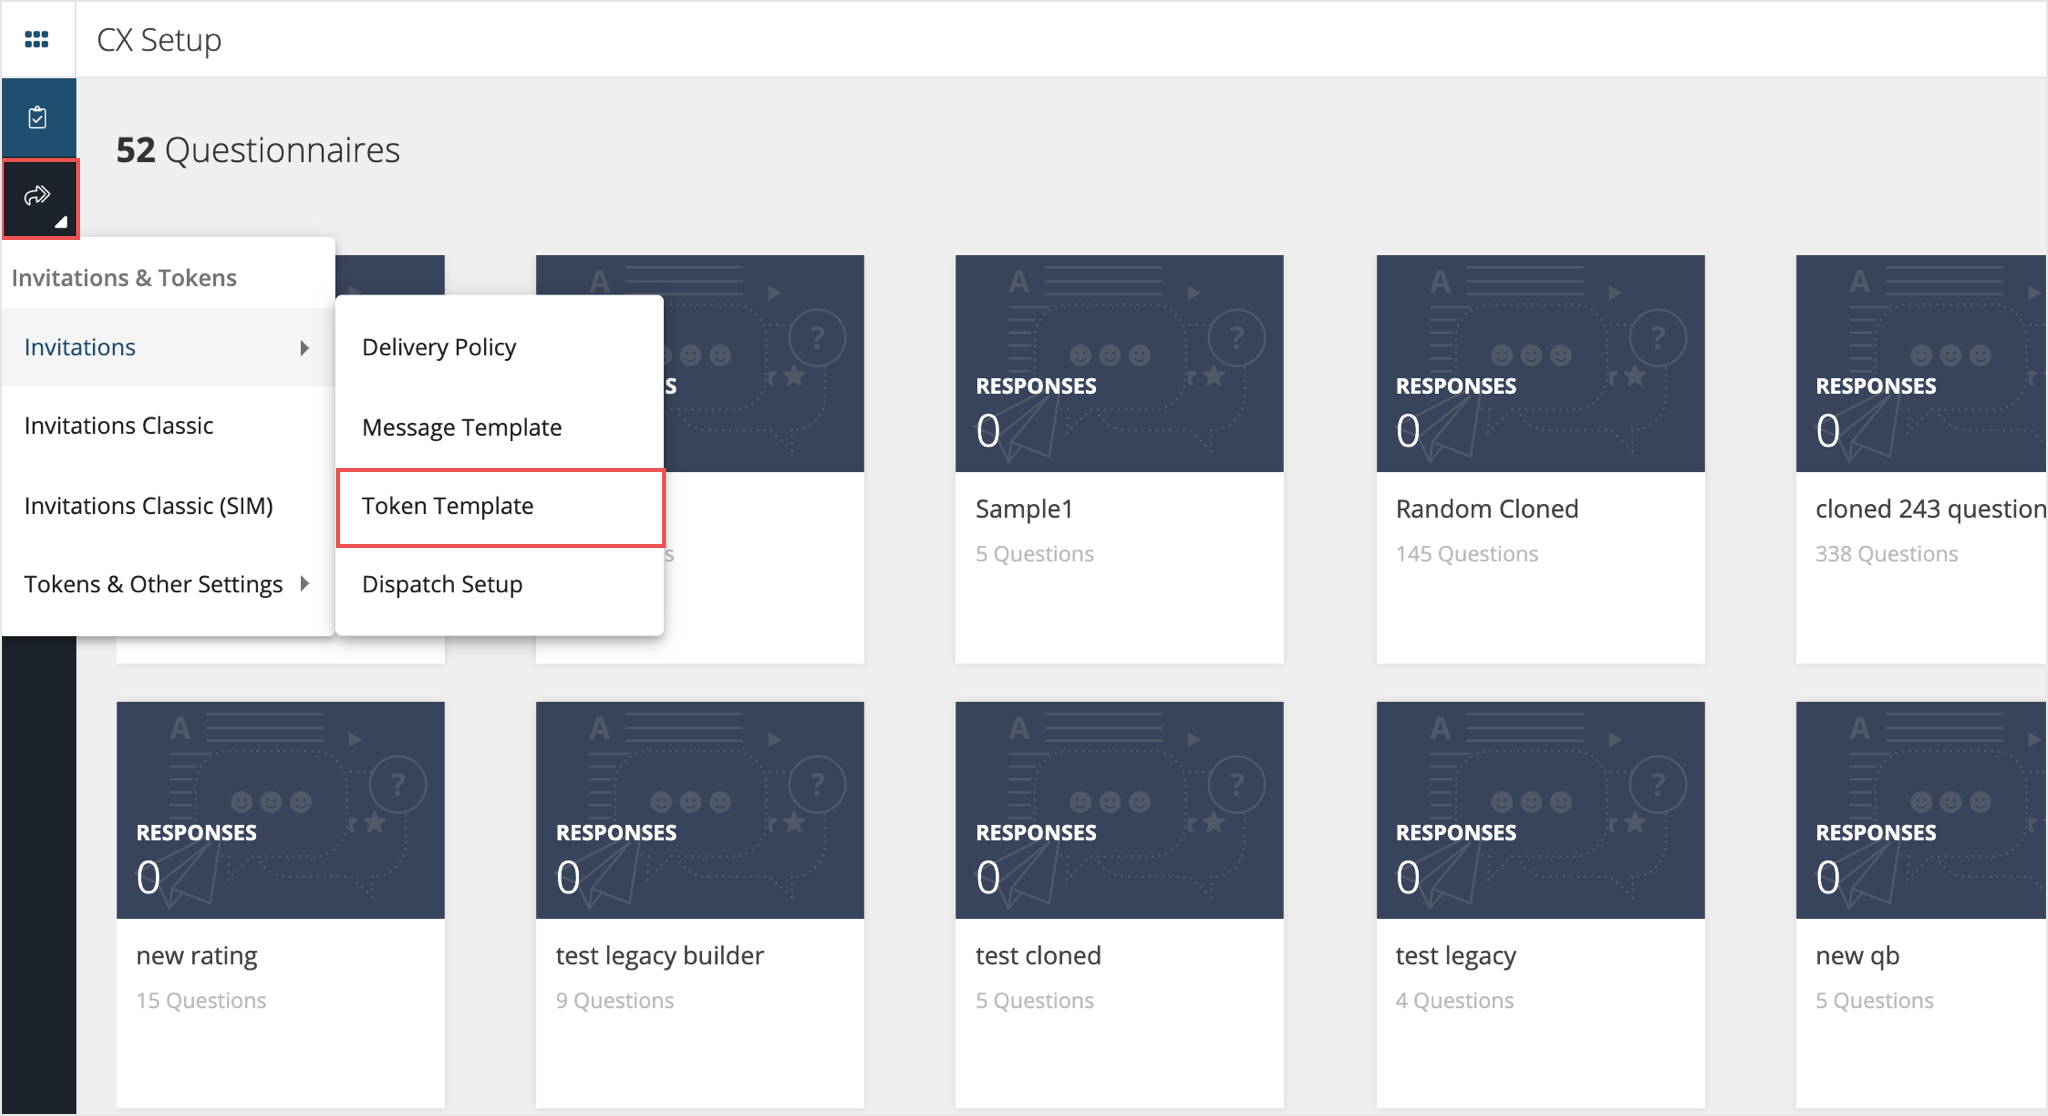
Sign in to Experience Management. Once the dashboard loads, switch to CX Setup using the menu button on the top left of the screen. Select CX Setup.

-
Under CX Setup go to Invitations and Tokens > Invitations > Token Template in the left navigation menu.
Creating a New Token Template
-
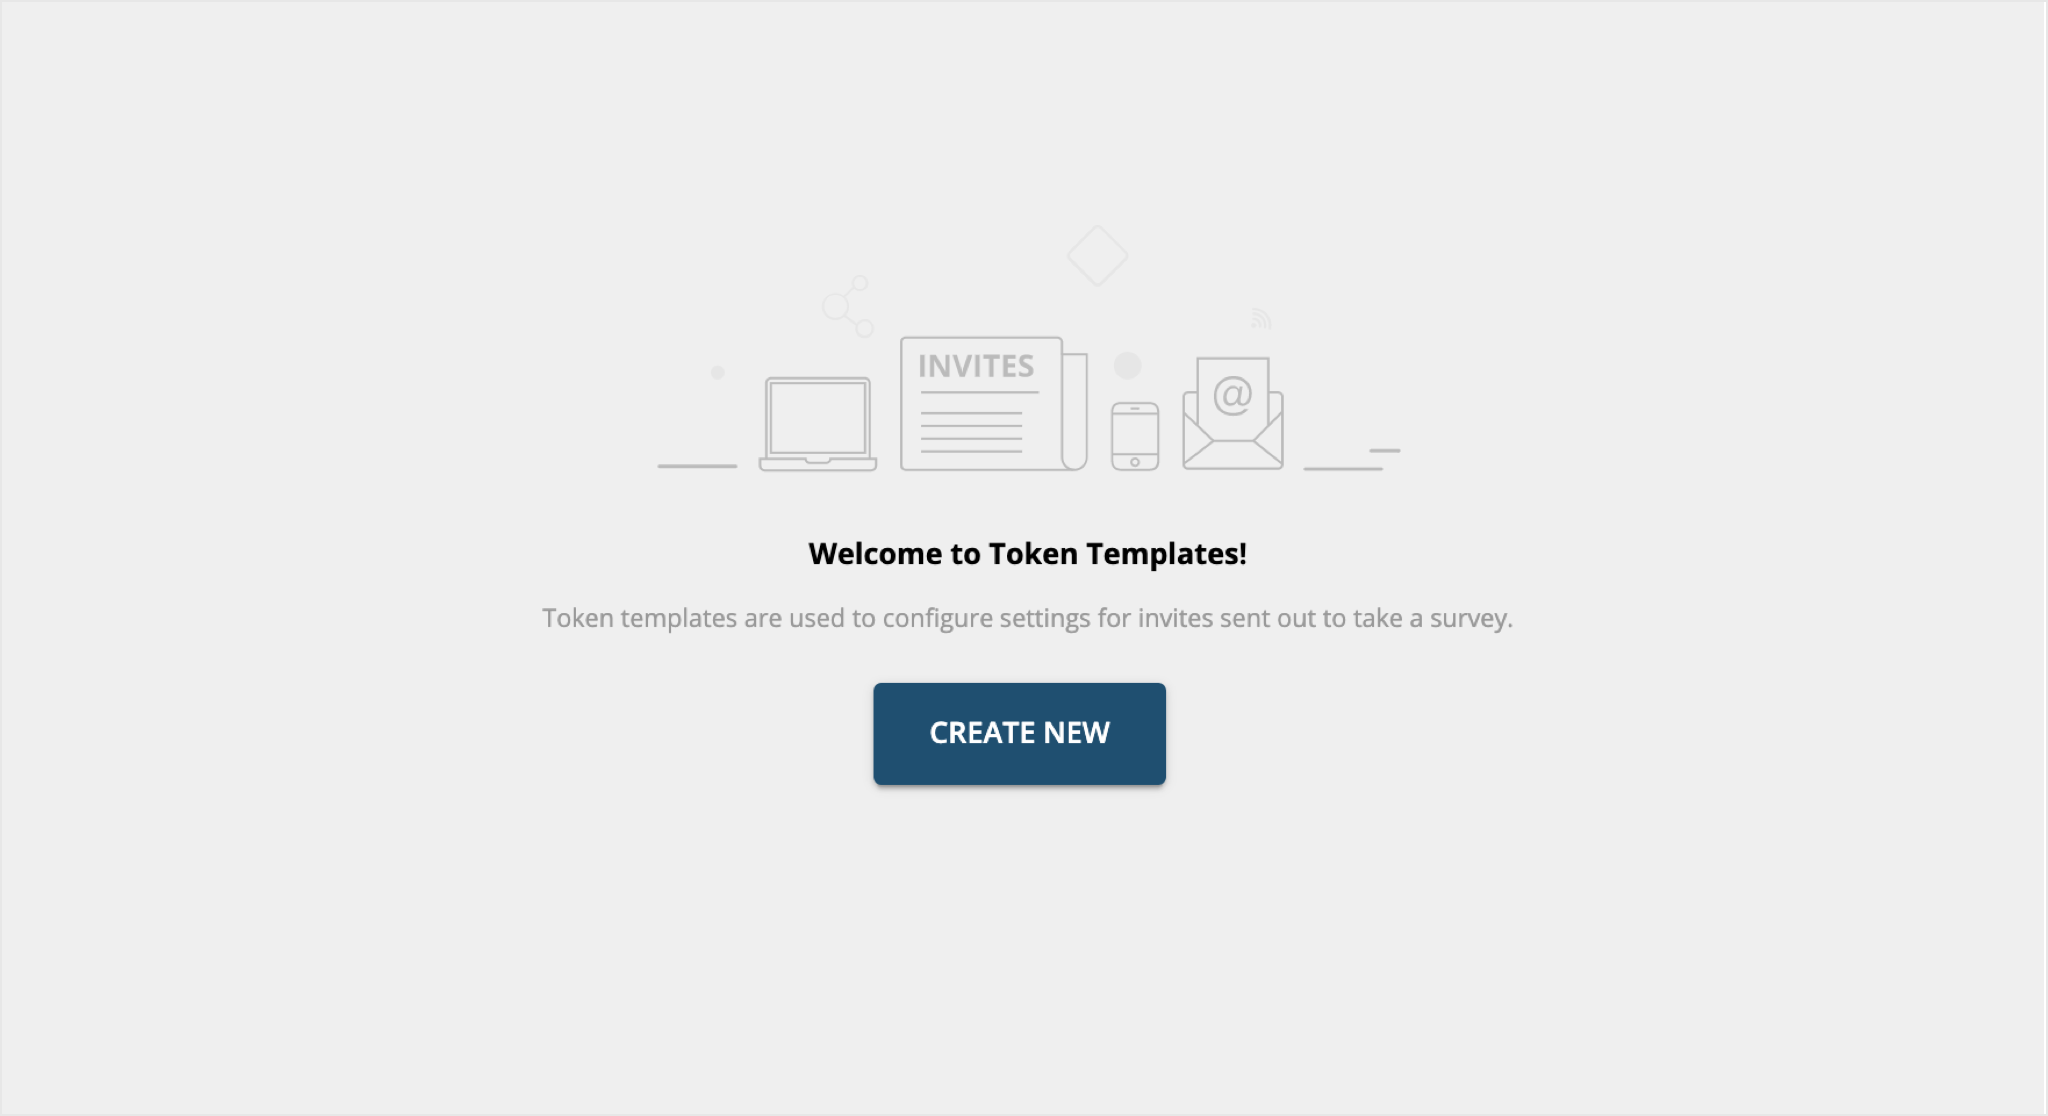
To create a new Token Template, click on the “CREATE NEW” button.
-
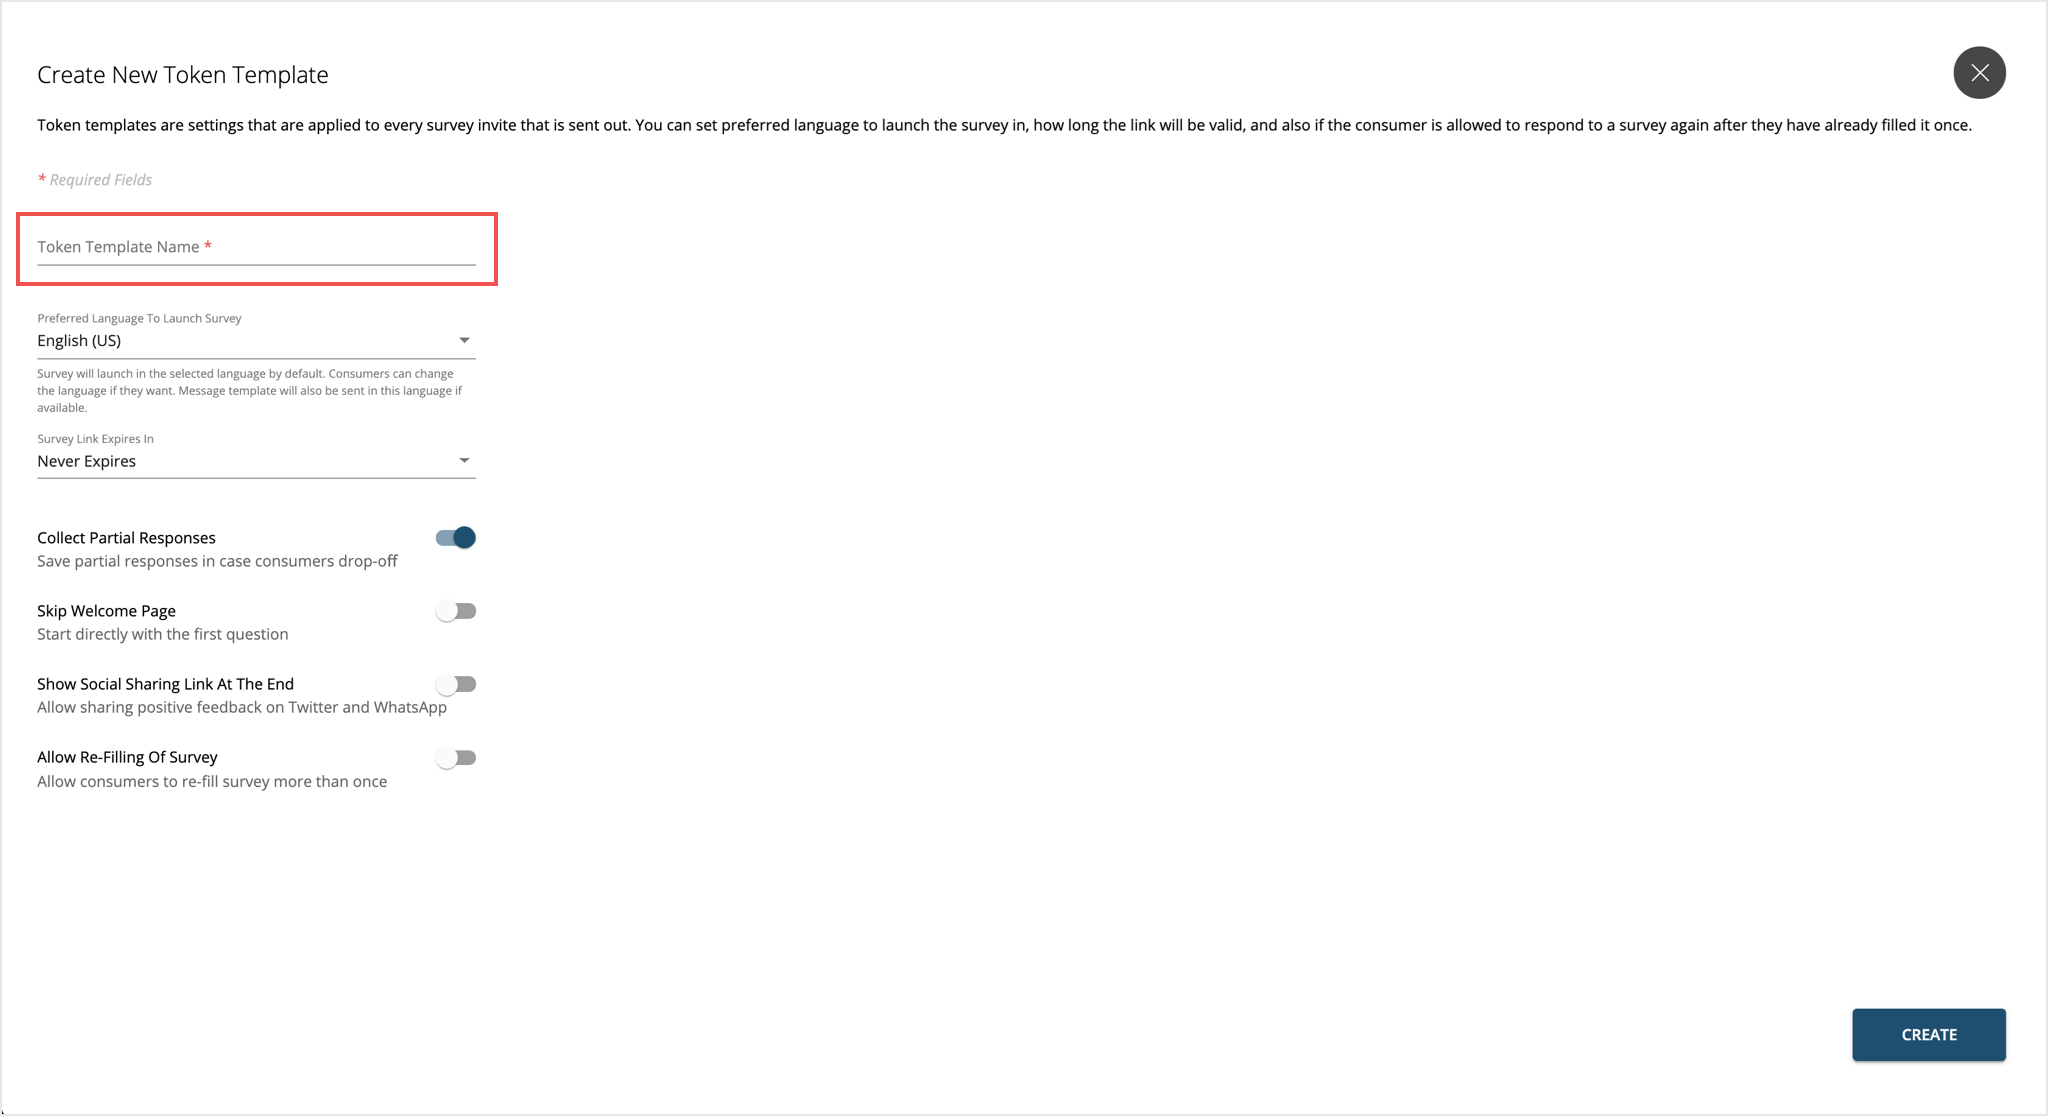
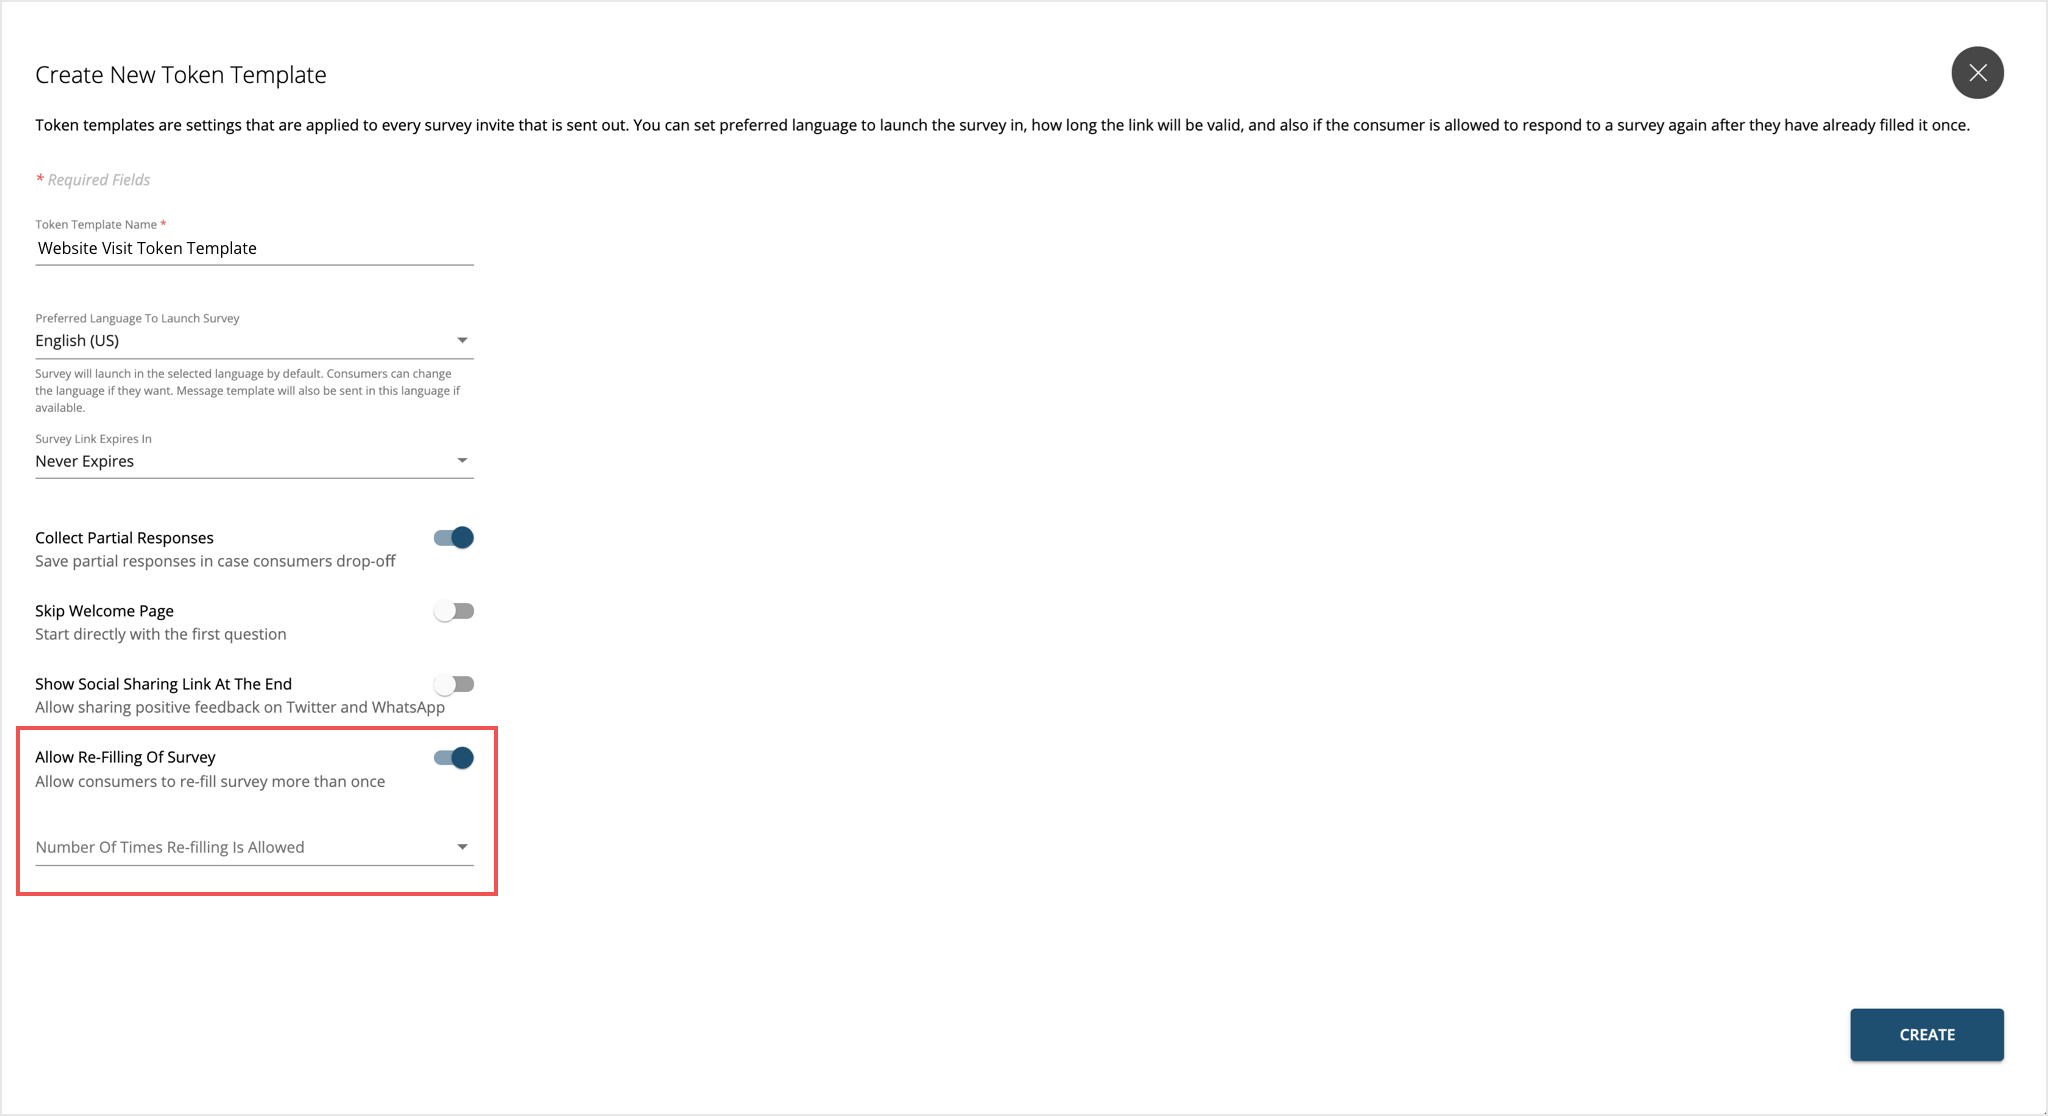
Give a name to the new Token Template. Use names that are unique and easily identifiable. This helps to select this message template without confusion in other parts of the product.
-
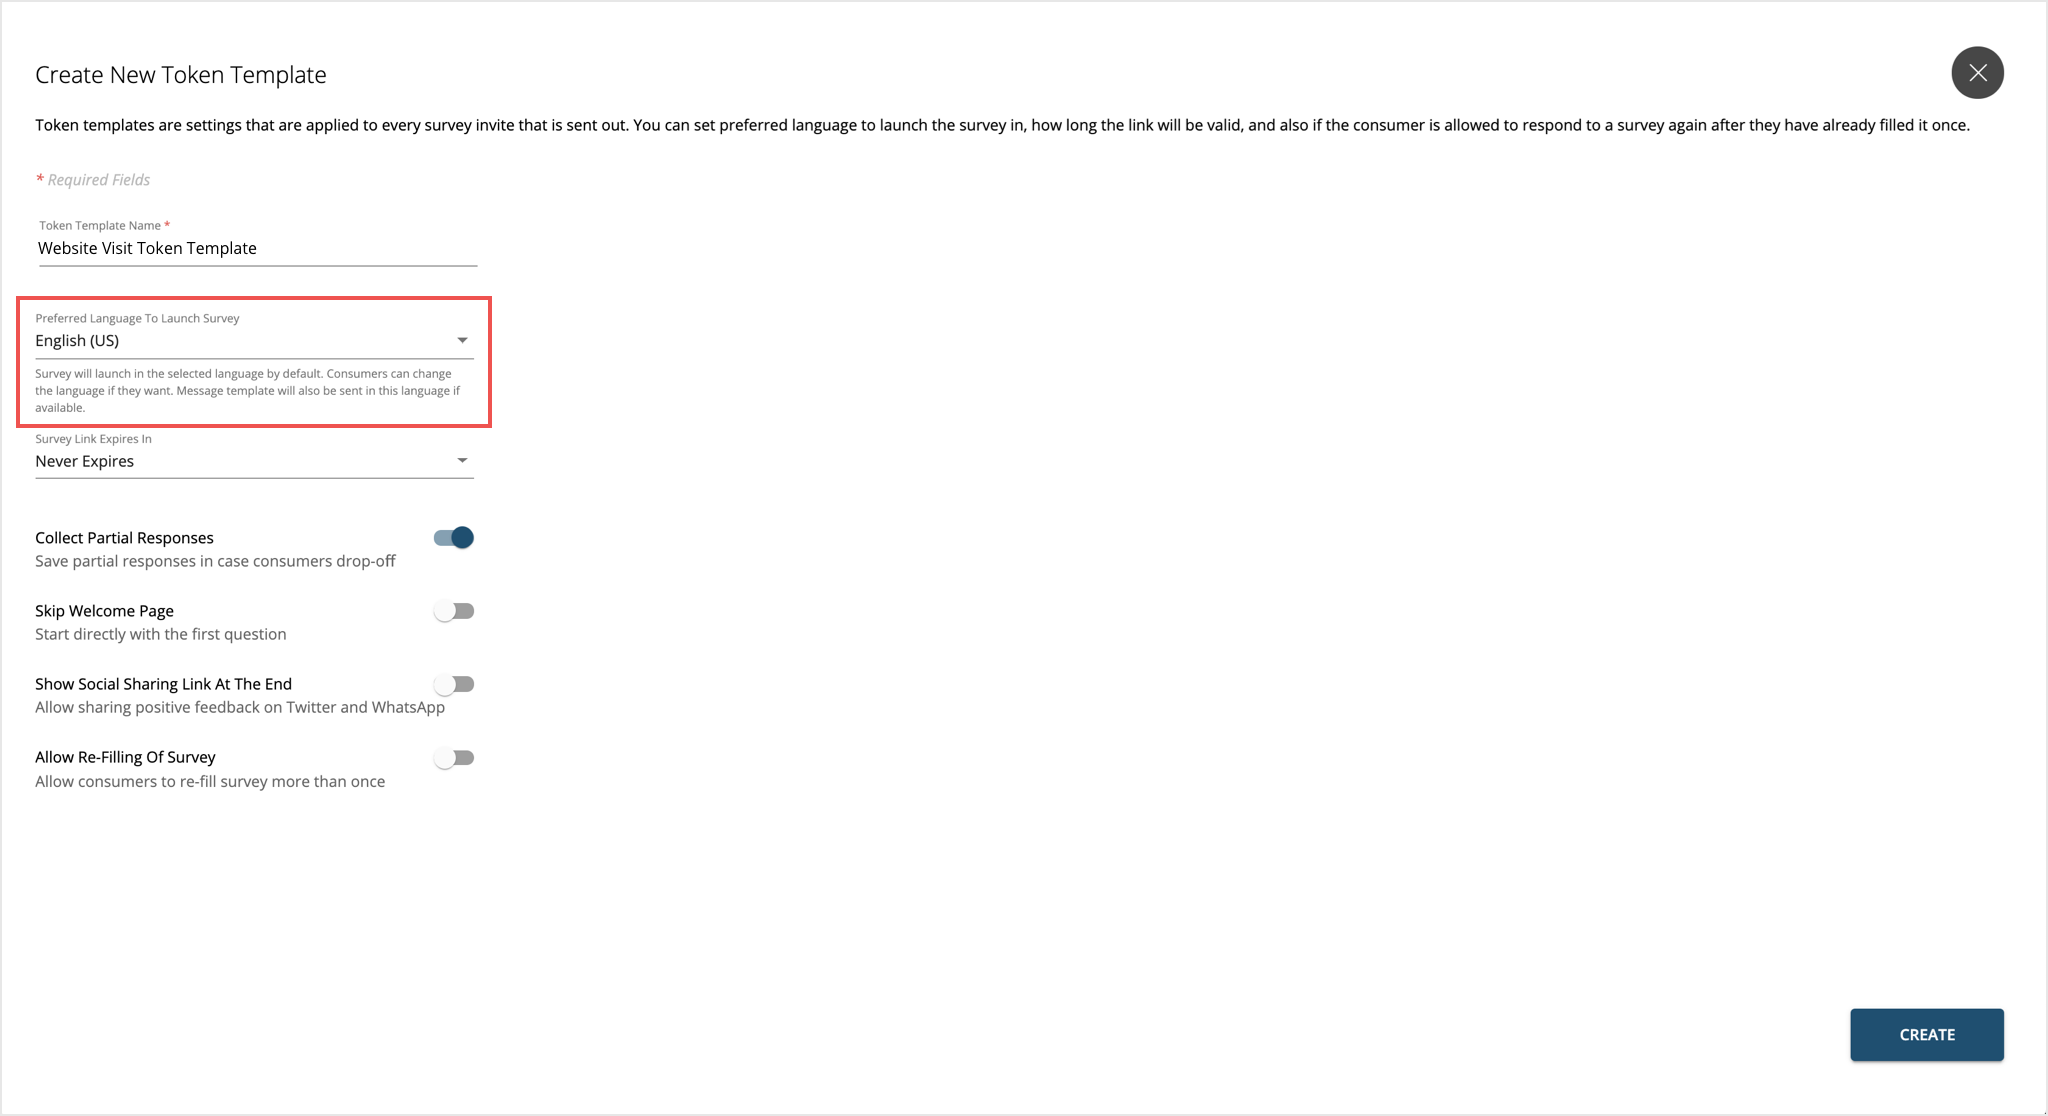
Preferred Language – This is used by the dispatch to ensure that the messages are sent in the preferred language. The dispatch uses the language template if it is available in the message template. This is a good way to personalize the message for users who prefer a certain language over another. The survey will load in the preferred language if that is set up in the questionnaire.
IMPORTANT - While selecting the preferred language to launch the survey, make sure that the translation for this language is configured in the Message Template page to create a sync between the language you want to launch the survey in and the content that is visible to the user. In case the message template is not available in the language selected, it will fall back to English (US) language.
-
Survey Link Expires In – This determines the number of days for which the customer can use the link to give feedback. After this period the link expires. The default value is set as seven days. You can set this in the range of one to 99 days.
IMPORTANT – Please note that the number of days a the survey link should be valid for should be more than the total period setup as delay in the message line up in delivery policy.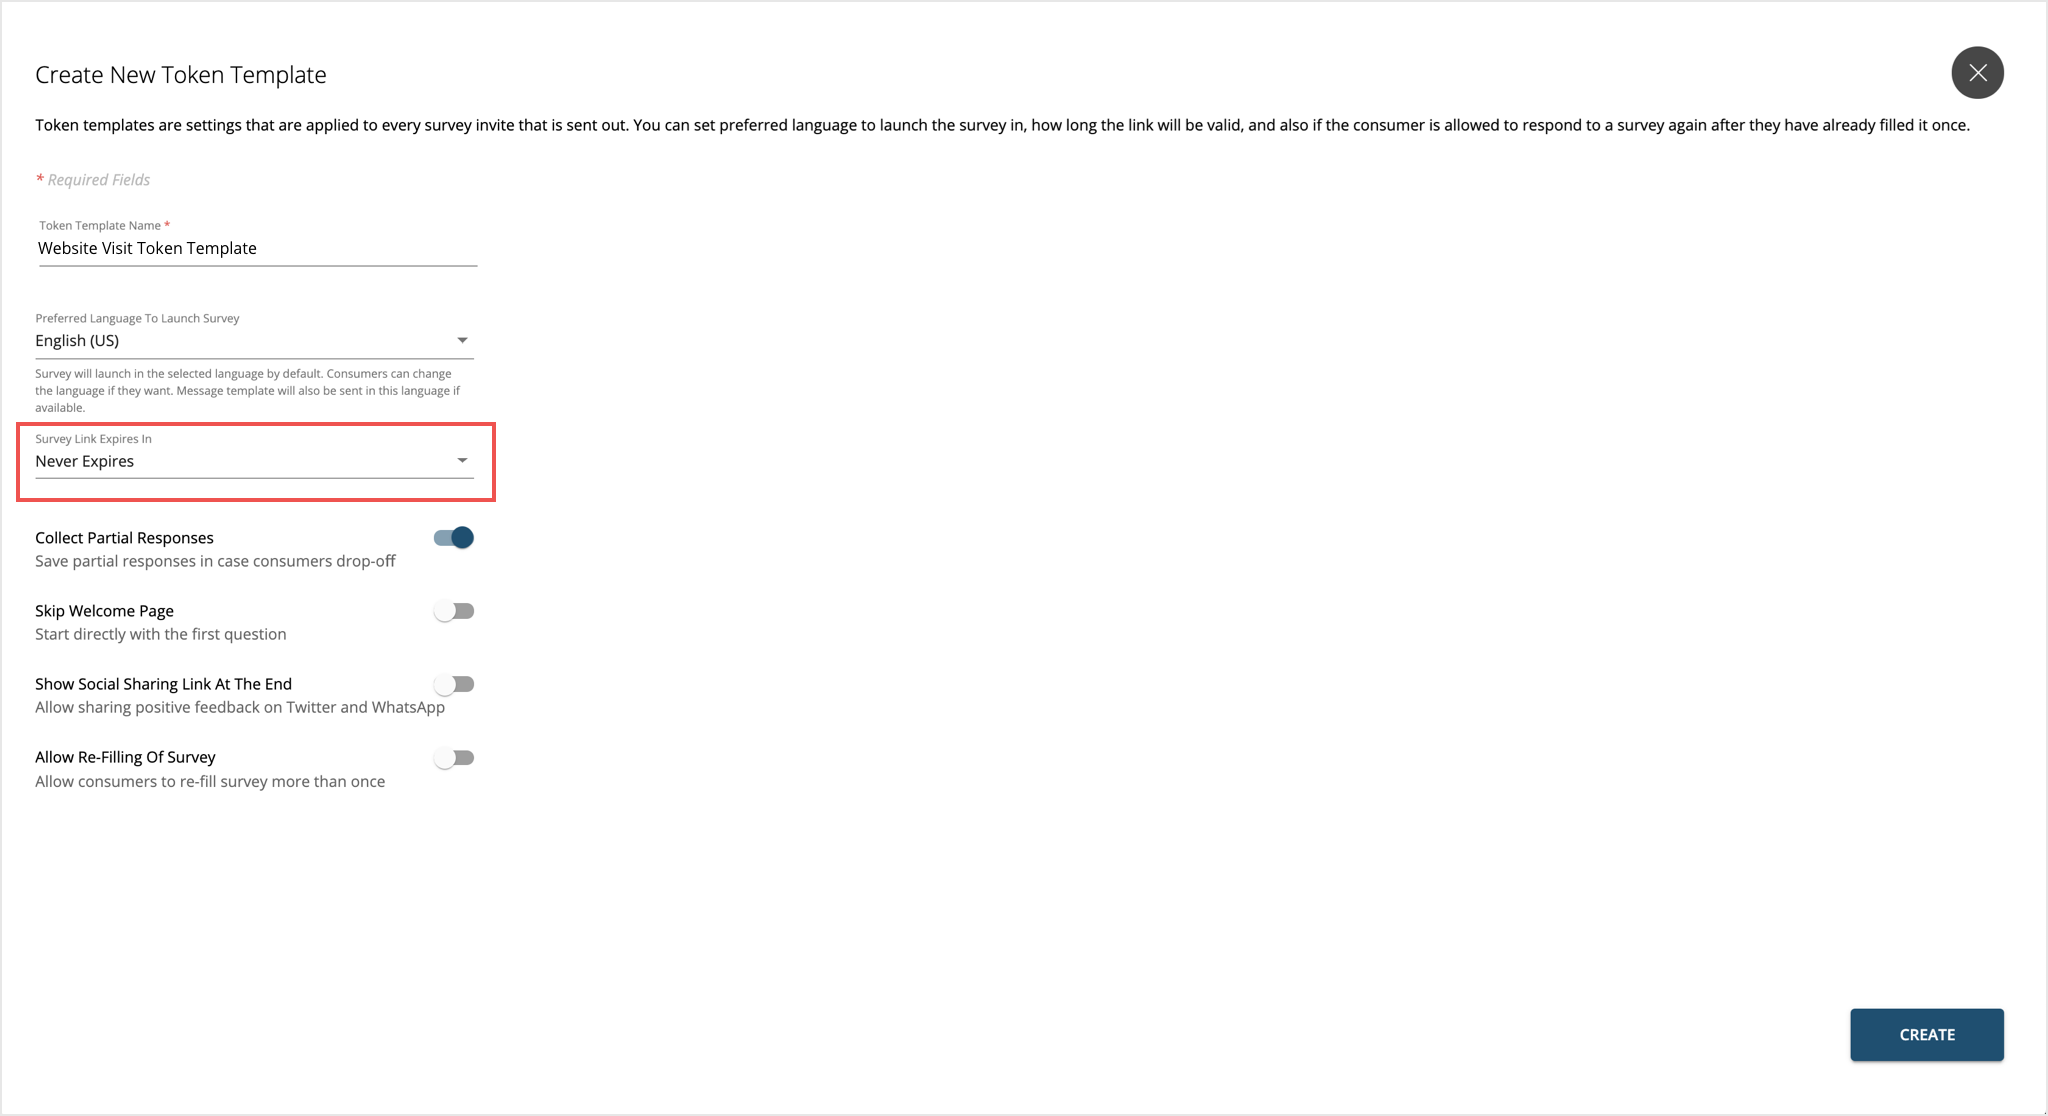
-
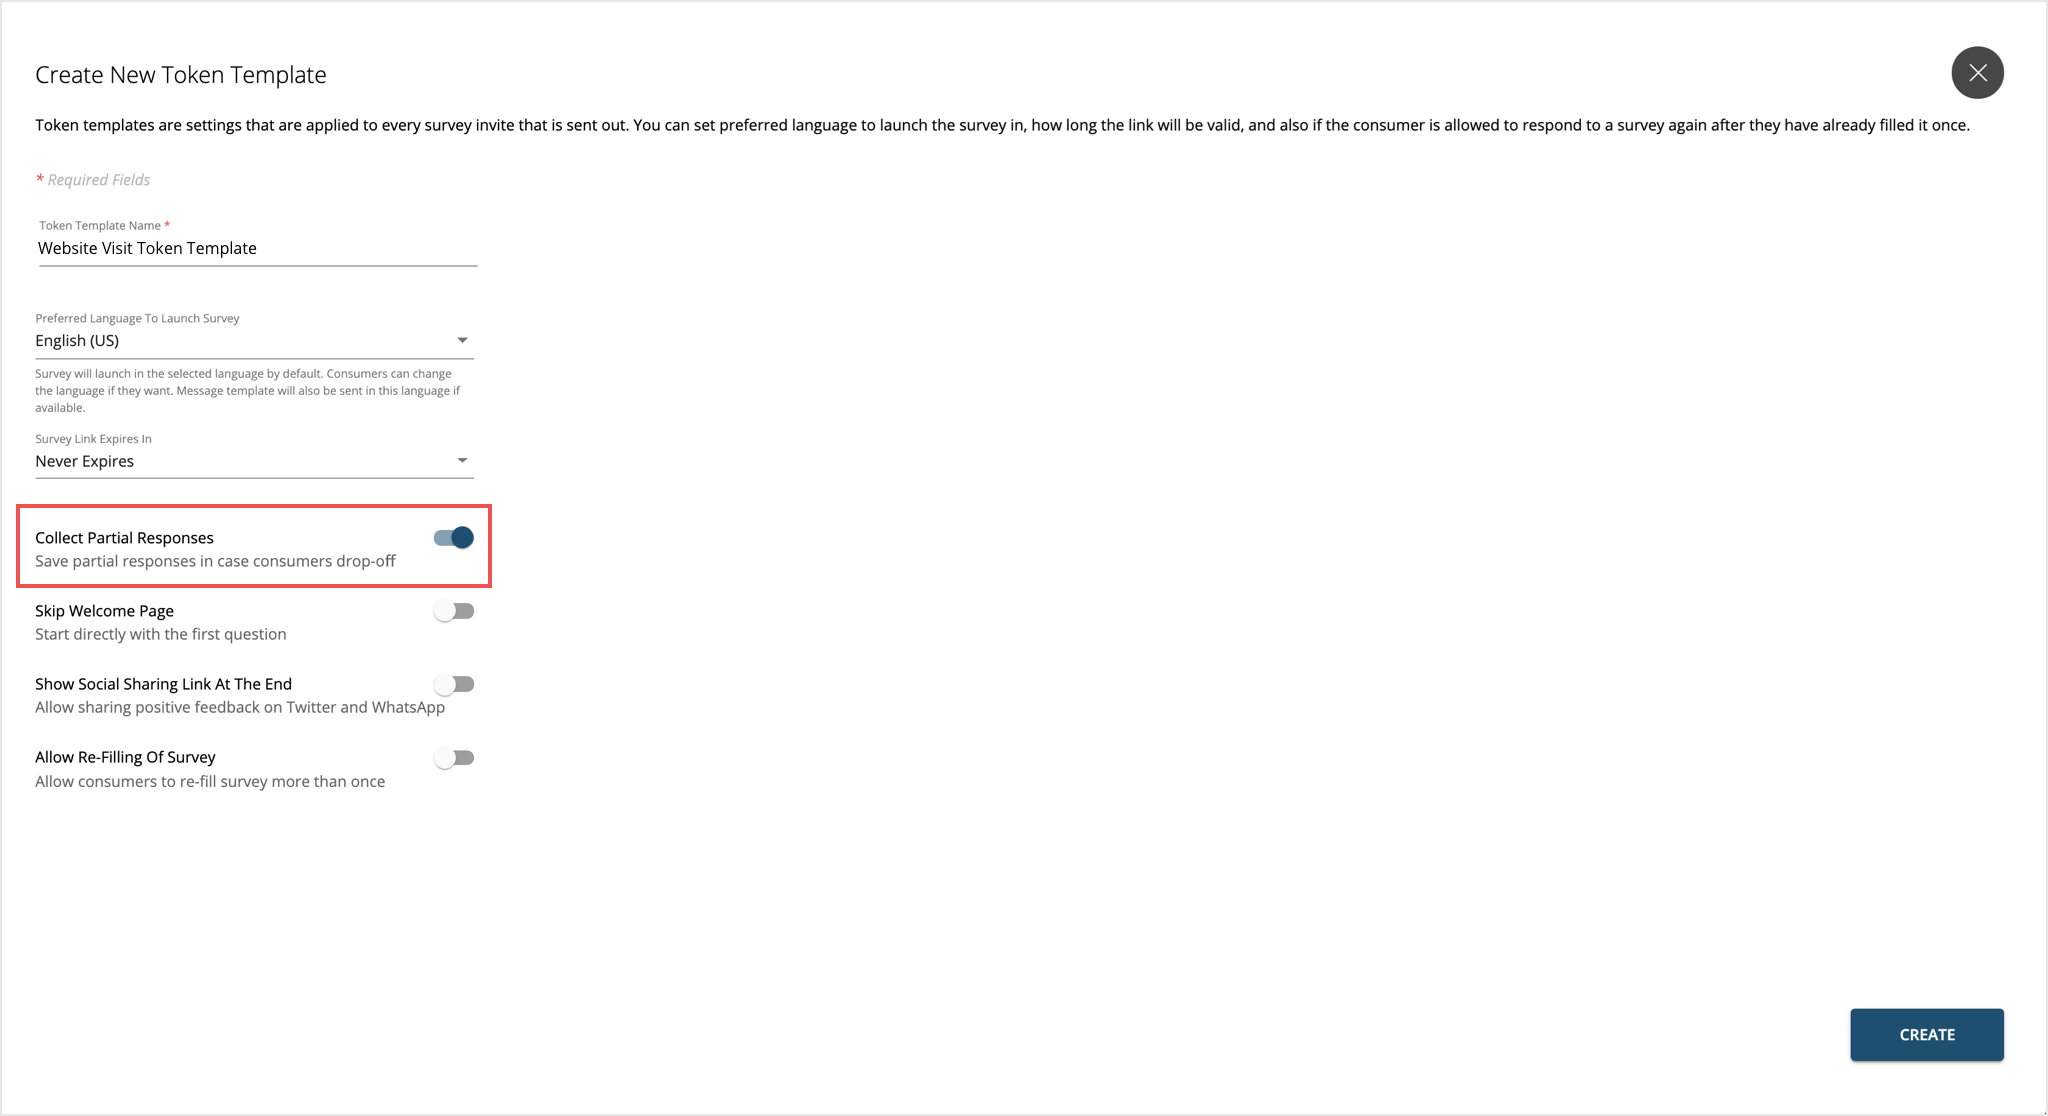
Collect Partial Response - In some cases customers drop off in the middle of a survey. In such cases, the partial feedback given by the customer can be saved in Experience Management. Users can view them in the dashboard as partial responses.
-
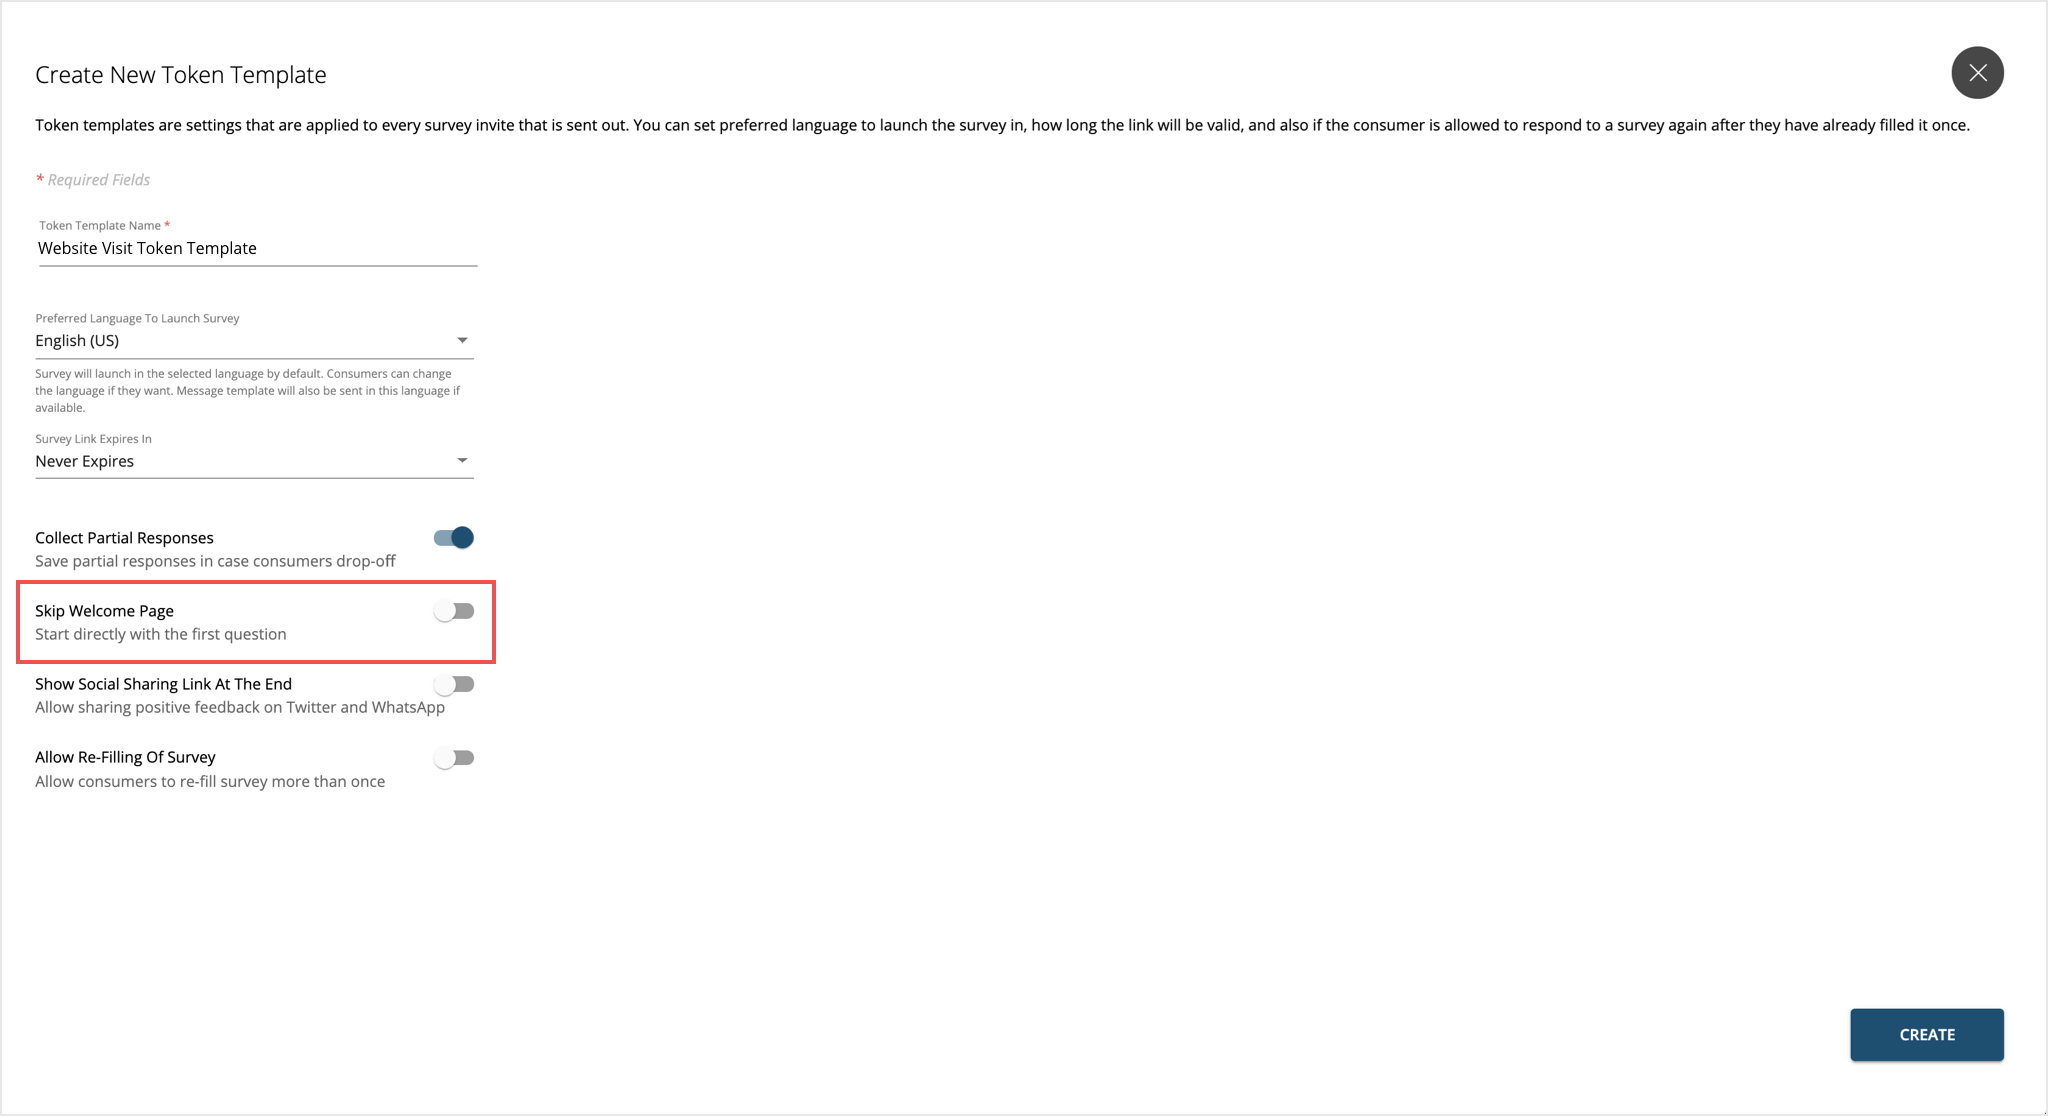
Skip Welcome Page - This setting allows the user to skip the welcome screen. When the user clicks on the survey URL in the invite, they directly land on the first question in the survey.
-
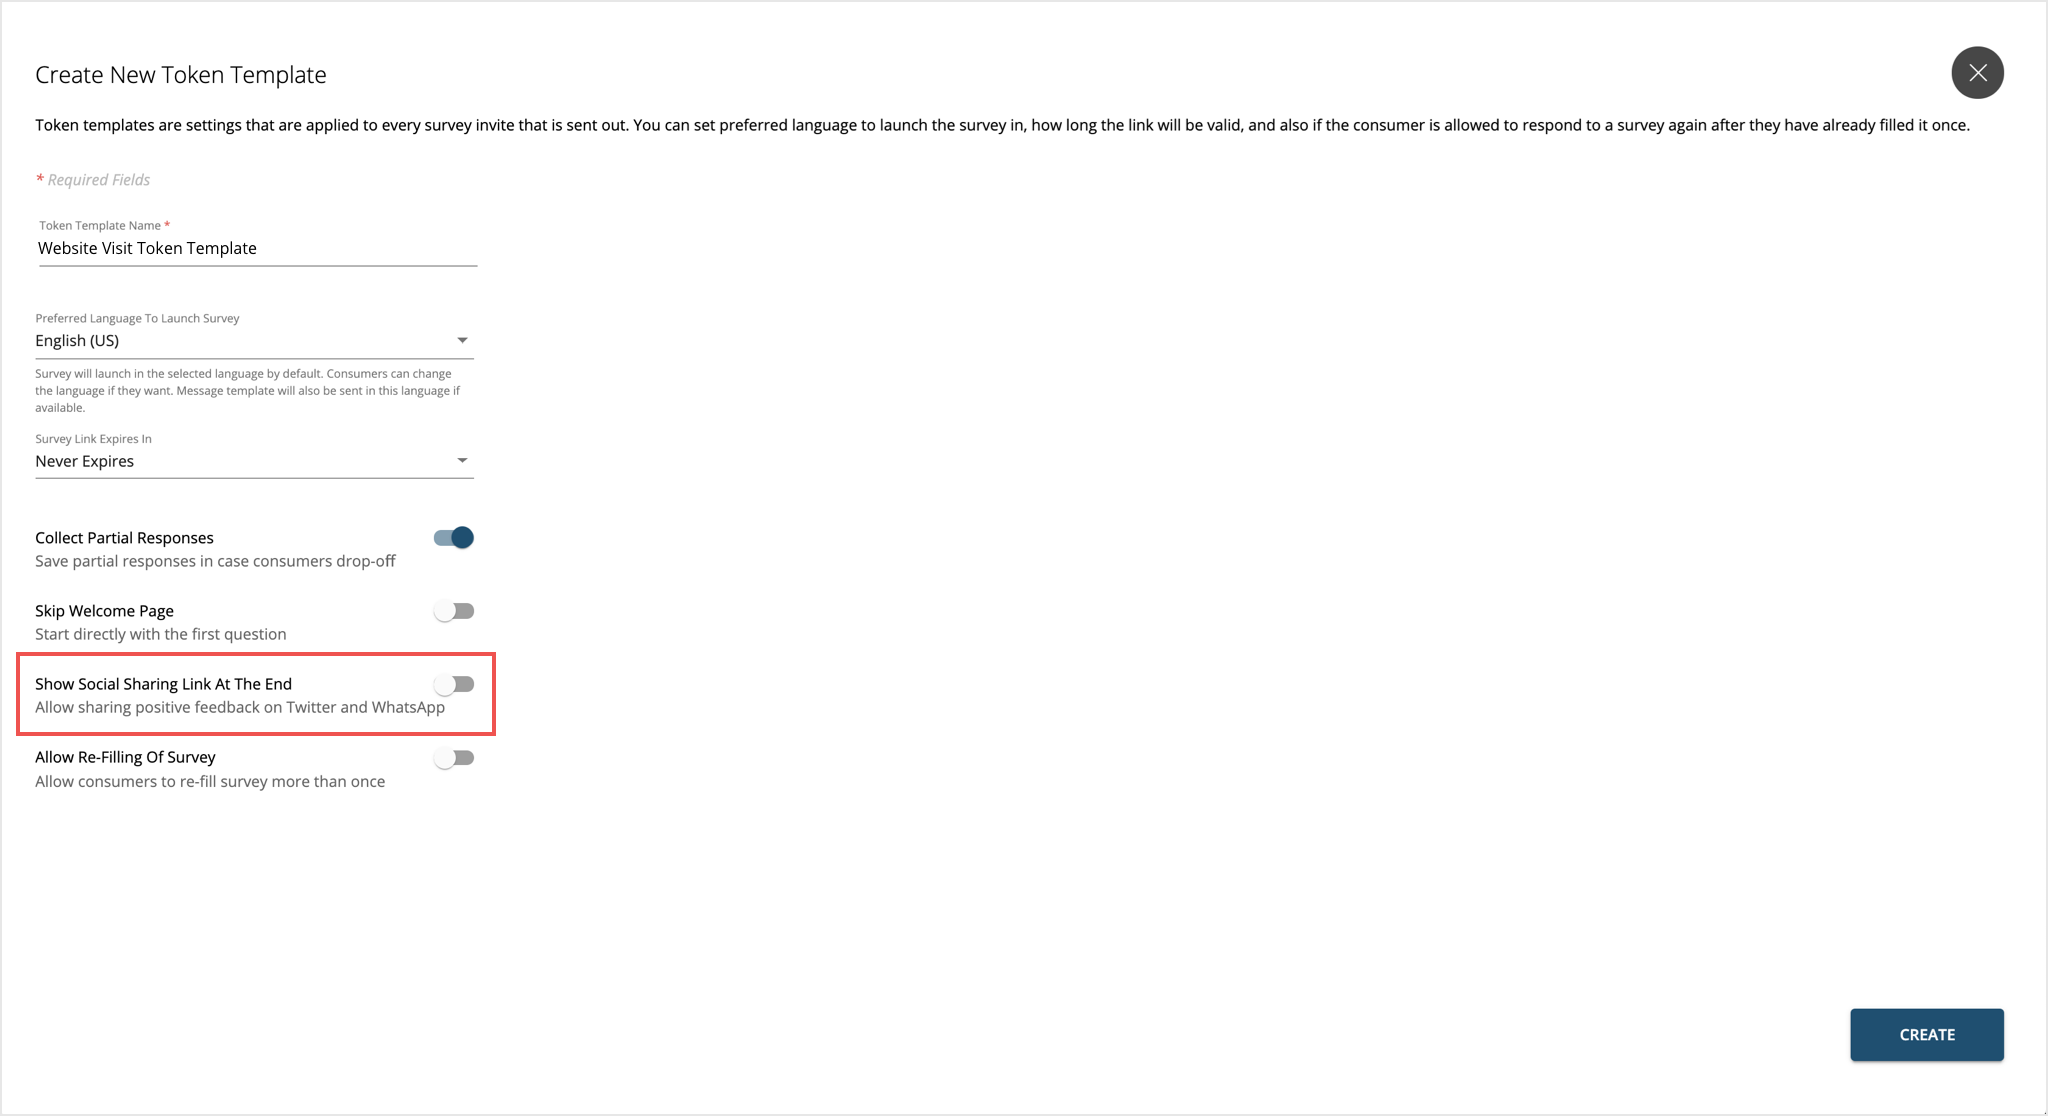
Show Social Sharing Link at the End - When customers submit their response, a Thank You page pops up. The Thank You page has links for social sharing on Twitter and WhatsApp (on mobile). These links are shown only to customers who give an overall positive feedback. (Promoters for NPS and 5/5 on scale or rating questions).
-
Allow Re-filling the Survey - This setting determines how many times a customer can provide feedback using the same survey link. This can be set in the range of 2 to 99. When this feature is switched off, customers can provide feedback only once using the link after which they will see a message “You have already provided feedback”.
If the customers fill the survey multiple times, a new response is captured each time. Multiple responses from them will be available in Experience Management.
Editing and Managing Token Templates
Token Template can be edited at any time by clicking on the template in the table and making changes as desired.
Deleting a Token Template
Deleting a Token Template is an action that cannot be undone. This will immediately pause all dispatches using the deleted Token Template. You must manually update these dispatches with new templates, and re-enable them to resume sending of invites.